
Why router bits leave dark scorch marks
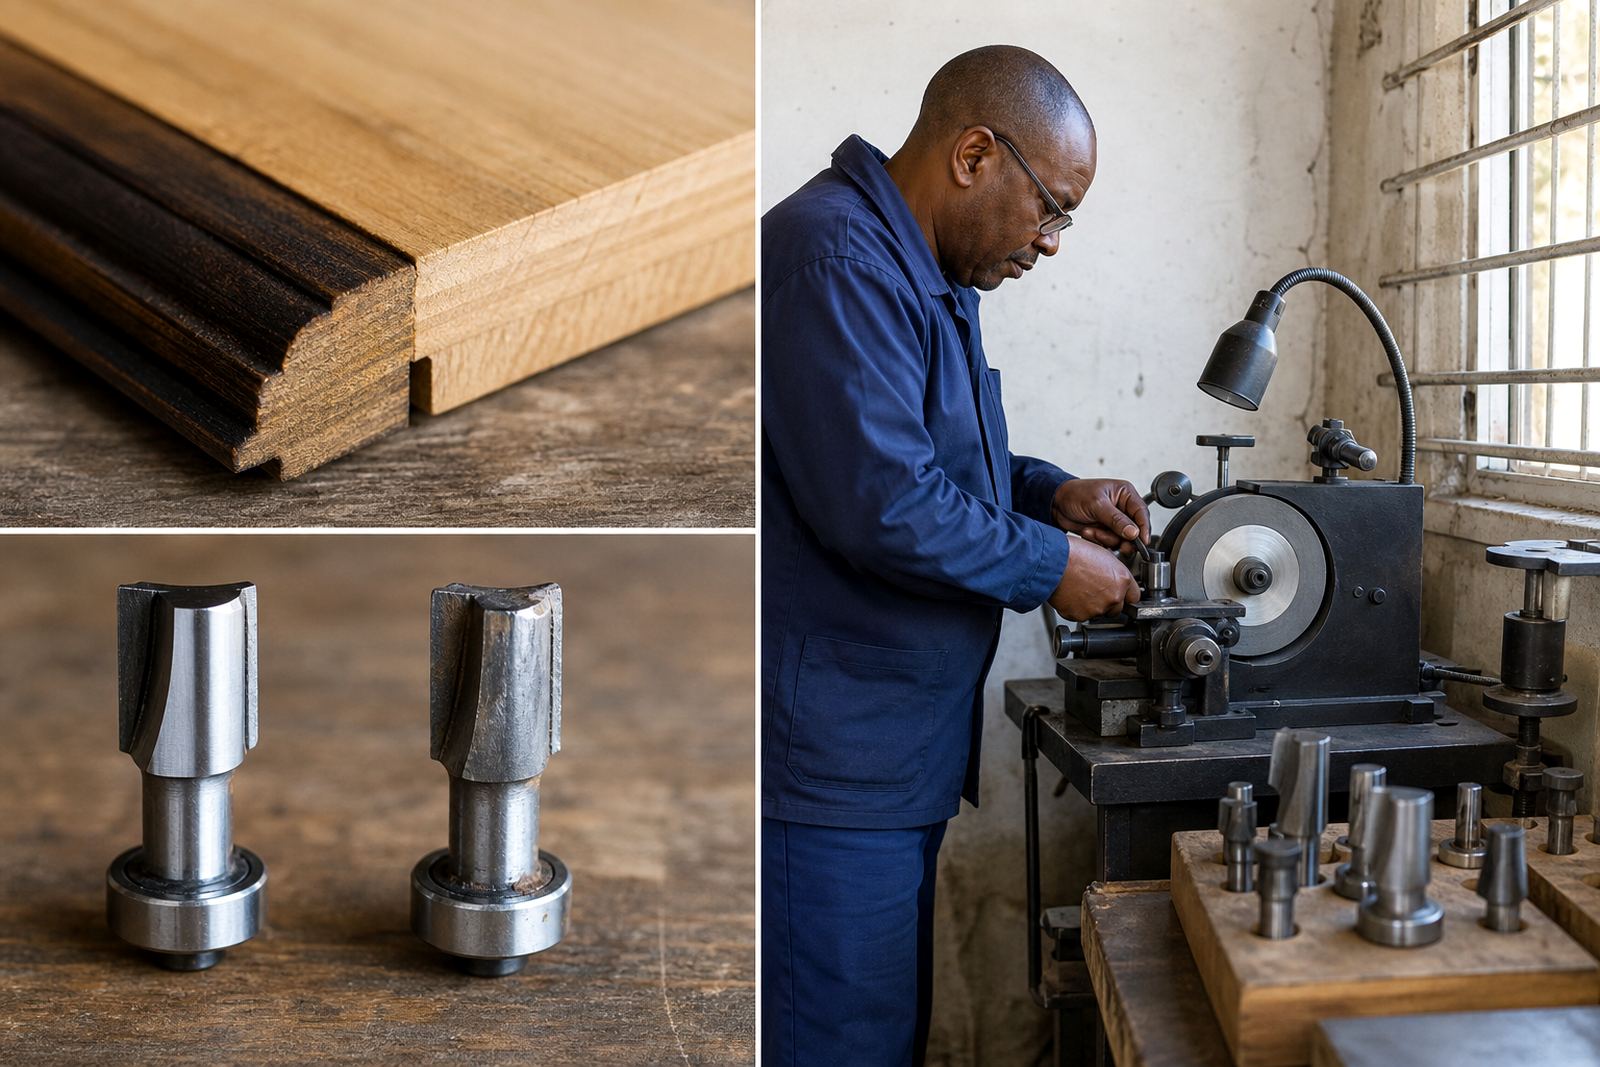
Burn marks are a sign that heat is building at the cutting edge. Instead of slicing wood fibres cleanly, the bit starts to rub, the resin warms up, and the edge of the workpiece turns brown or black. This often shows up on hardwoods, plywood with glue lines, MDF, and damp timber that has not fully acclimatised to workshop conditions.
In Pinetown and along the coast, humidity can change how timber behaves from one week to the next. A sheet that seemed fine on Monday can move slightly by Friday, and a bit that was cutting well last month may now leave marks because the tool is duller than it looks. Heat builds quickly when the cutter is no longer taking an even bite, especially on handheld routers and small tables where the operator is trying to move too slow.
- Dark edges usually mean friction, not just a bad timber board.
- Glue lines and dense grain can make the problem worse.
- Heat damage often starts before the eye can see obvious wear on the bit.
Feed rate and sharpness work together
The cleanest cut happens when the feed rate matches the bit geometry and the sharpness of the edge. If you move too slowly, the cutter sits in the material for longer and cooks the edge. If you move too fast, the bit can chatter or tear fibres. The middle ground depends on the diameter of the router bit, the depth of cut, the timber species and the machine power.
A sharp bit can still burn if the feed is wrong, but a dull bit will punish a good setup very quickly. This is why two operators can use the same machine and get very different results. One gets a bright clean edge, the other gets a black line and a noisy cut. A bit that has lost its keen edge needs less force to push through but creates more heat because it is rubbing. Thats the part many people miss.
- Slow feed on a dull bit increases burn risk.
- Too much depth of cut can force the bit to labour and heat up.
- Sharp edges reduce drag and keep the cut cooler.
What to check before blaming the timber
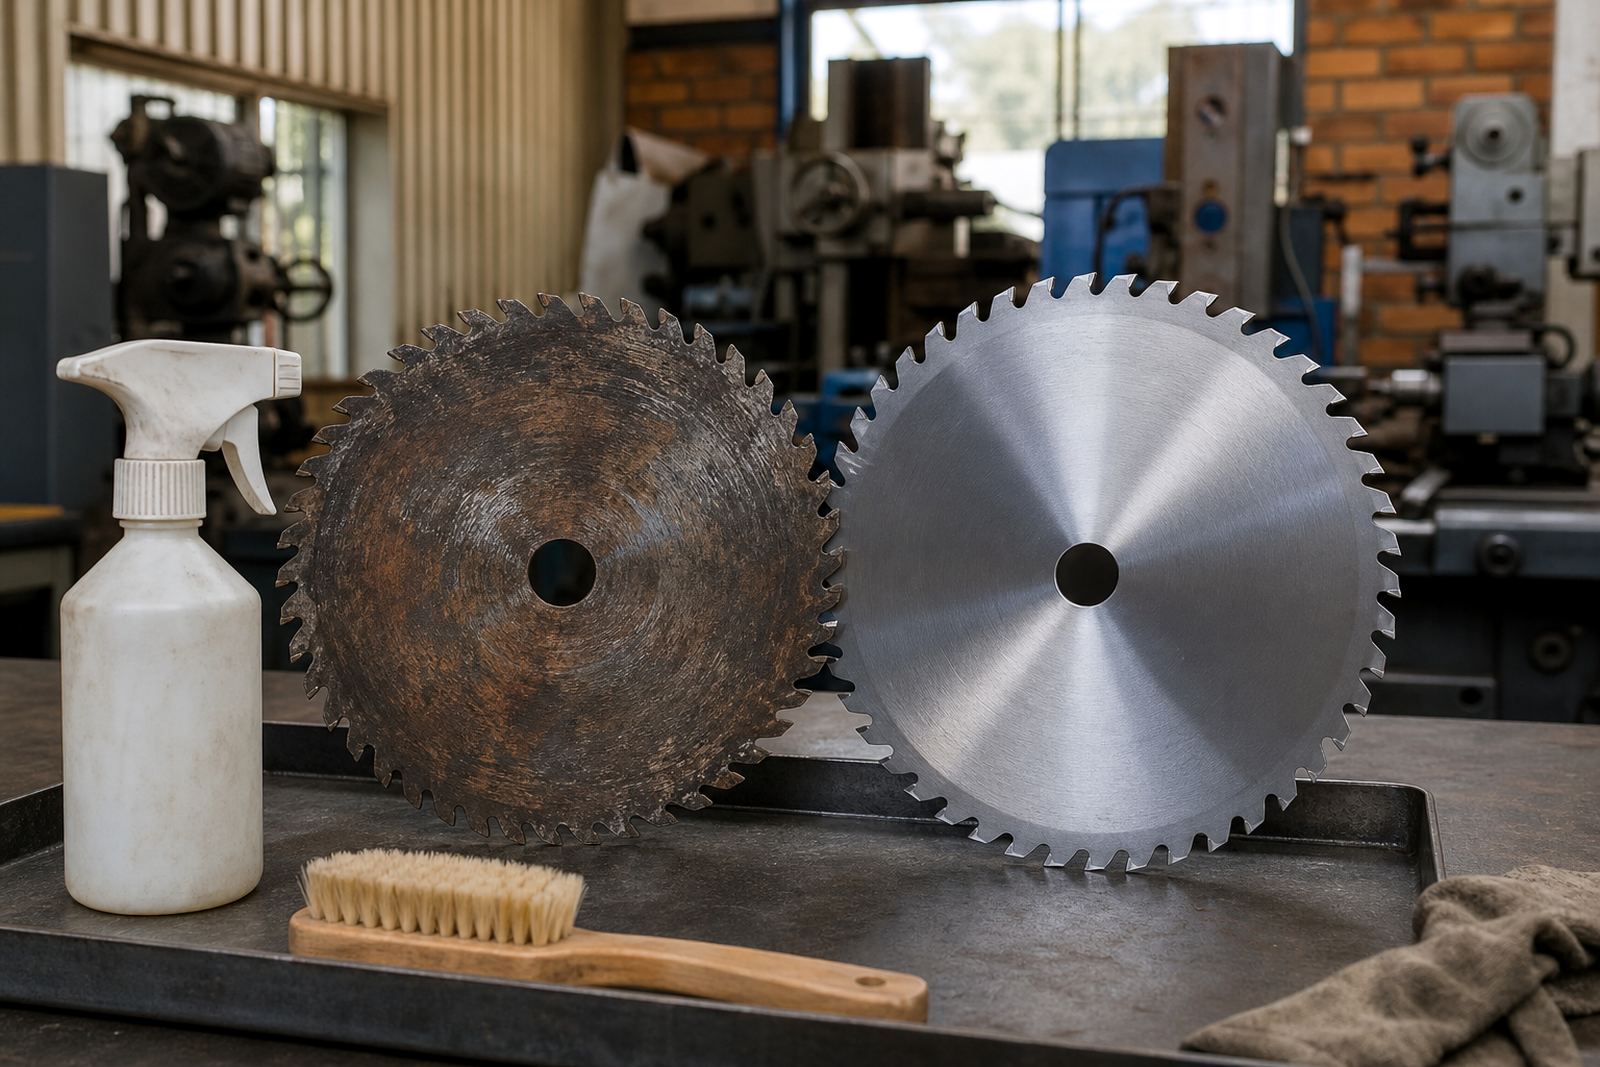
Before sending a bit for regrinding, it helps to check the setup on the router table or hand router. Look at spindle speed, bit projection, cutter cleanliness and fence alignment. Resin build-up can act like a sticky coat on the edge and make the bit heat up sooner. A worn collet or a bit that is not seated properly can also cause vibration and uneven marks.
In a busy workshop, these small issues stack up. A cabinetmaker in Durban might complain about burn marks on edge moulding, but the real issue could be a dirty bit combined with a pass that is too shallow. On site work in Johannesburg, where dust and repeat use are common, the cutter may simply be overdue for cleaning and grinding. If the same problem appears across different boards and different operators, the bit is worth checking first.
- Clean resin from the cutter before every fault check.
- Confirm the bit is seated correctly and tight.
- Check whether the burn appears on one side only, which can point to alignment or wear.
When burn marks mean the bit needs regrinding
Some burn marks can be solved by changing technique, but repeated scorching often points to worn cutting edges. Micro-chipping, rounded tips and uneven wear all reduce cutting efficiency. Once the edge starts to lose its original profile, the bit cannot evacuate material properly and the temperature rises.
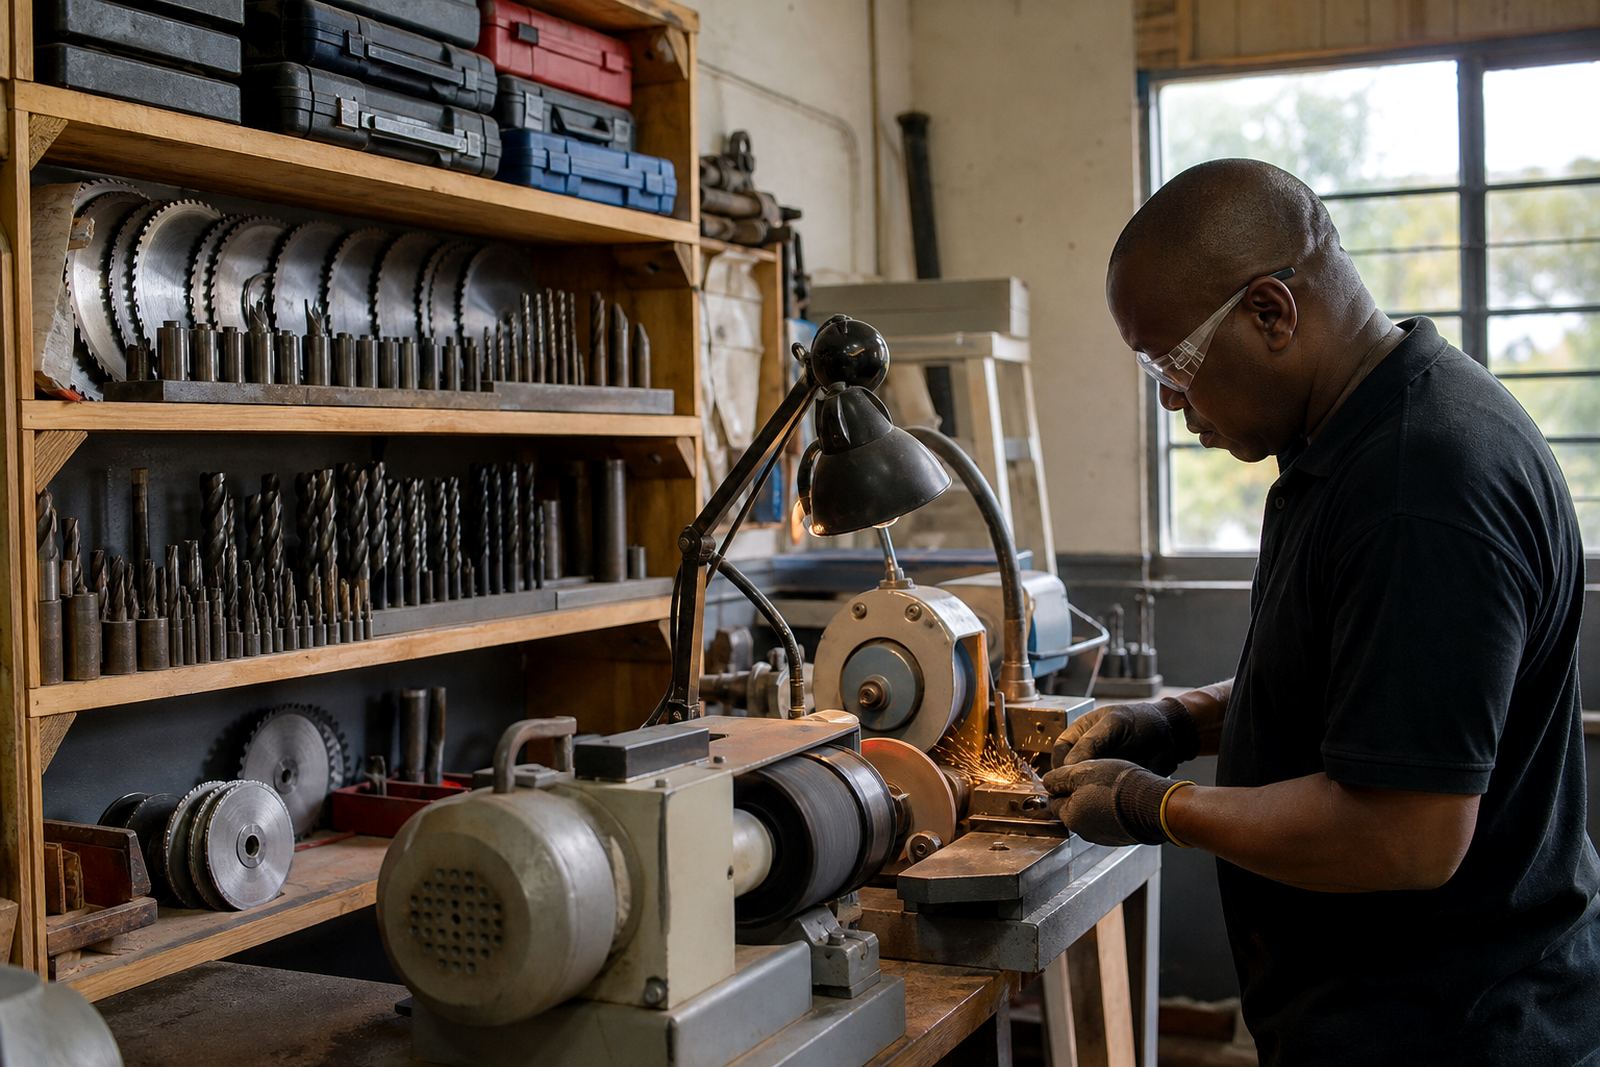
At CutTool Sharpening in Pinetown, router bit burn mark issues are usually assessed alongside edge condition, diameter correction and balance checking where needed. If the cutter has suffered chipped edges, a proper regrind can restore the cutting angle and help the bit run cooler. In some cases the problem is not only dullness but also an uneven face that makes one cutter tooth work harder than the others. That is when the burn pattern often shows in a repeating line.
For workshops handling regular production, we also recommend batch tool tagging so the same problematic bit does not keep coming back into circulation. It saves time and cuts down on guesswork.
A practical example from a KwaZulu-Natal workshop
A small joinery team from Westville brought in a set of router bits after getting scorch marks on a run of cupboard doors. The boards looked fine, but every second pass left a dark edge near the profile. The team had already tried slowing down and changing feed direction, yet the marks stayed.
On inspection, the main issue was a combination of dull cutting lips and resin build-up from repeated use on laminated board. The feed was not far off, but the cutter was rubbing too much. After cleaning, regrinding and checking the cutting geometry, the same router produced a cleaner edge with less sanding required. That is often the real saving, because less rework means better throughput and less waste.
- Scorching can come from wear, not just poor technique.
- Restored cutting geometry usually improves finish immediately.
- Less sanding means fewer hours lost in the shop.
How to avoid burn marks on the next job
Prevention is mostly discipline. Keep the cutter clean, use the correct speed, and do not force the cut. Test on offcuts when changing timber type, especially if you are moving from soft pine to hardwood or from dry stock to humid stock. When the router starts sounding louder than usual or the finish changes, stop and inspect the bit before the job drifts into scrap.
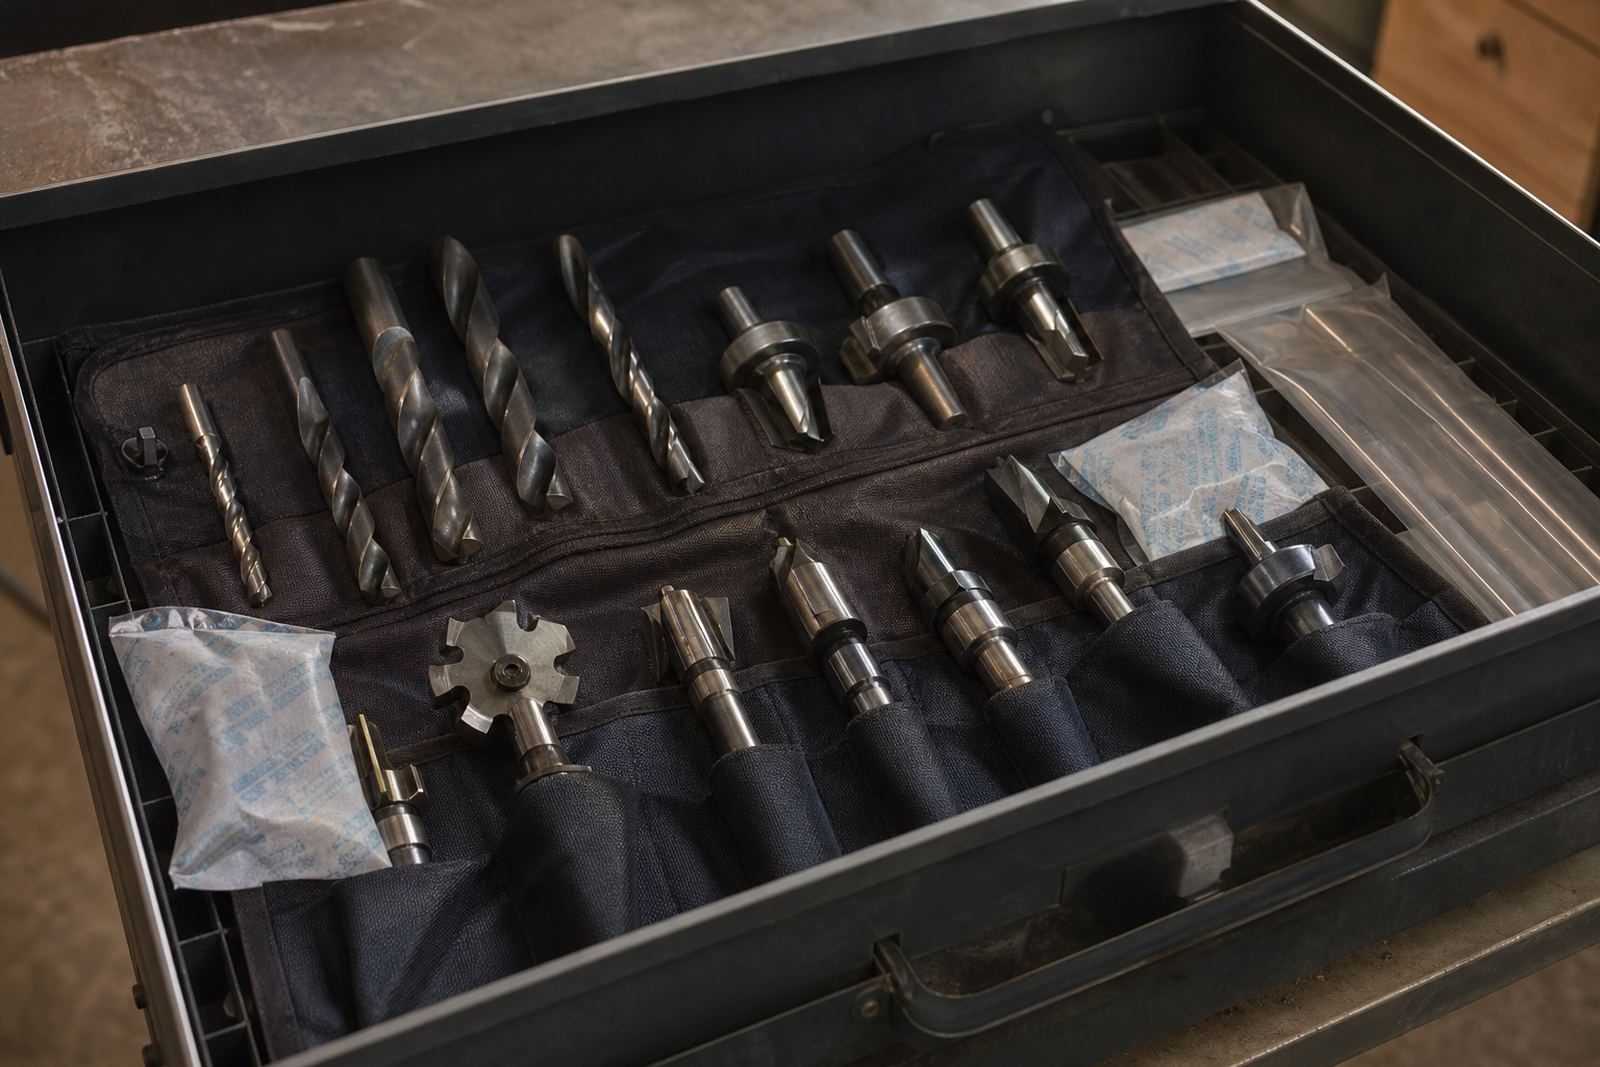
For regular users, a simple tool care routine makes a big difference. Inspect the edge, wipe off resin, store bits properly and send them for sharpening before they are badly worn. If you are training staff or setting up a starter kit for a small workshop, it is worth building these checks into the daily process. A bit that is looked after will cut cooler, last longer and give a cleaner edge with less fuss.
- Match feed rate to the material and bit size.
- Do not let resin build up for weeks.
- Send worn bits for sharpening before the finish starts to suffer.