
How planer knife wear shows up on the timber face
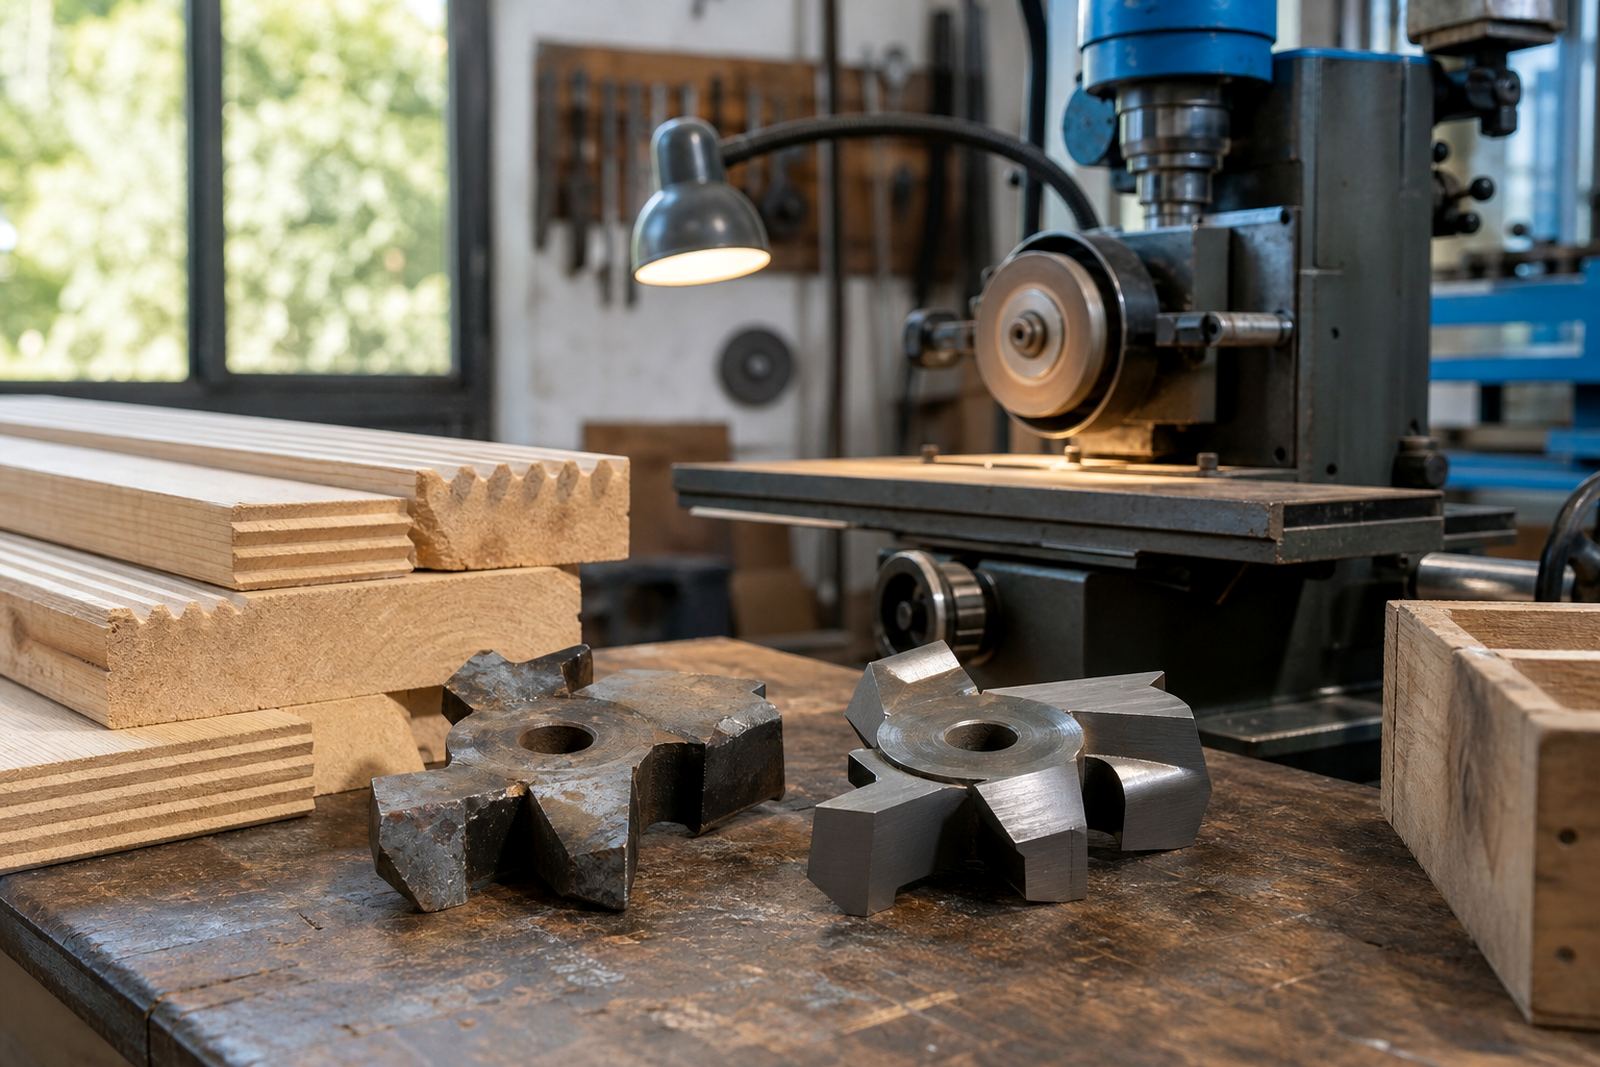
Planer knife wear does not always start with a loud failure. More often it begins as a slight change in the timber finish, then the machine needs extra passes to get the same result. You may see faint ridges, a dull sheen, tear out on the grain, or a surface that feels smooth in one direction and rough in the next. On softwood, worn knives can leave raised lines and a fuzzy finish. On hardwood, they may leave burn marks or a washed out surface that takes more sanding than it should.
In a Pinetown workshop, a carpenter running laminated pine for shelves might think the board is at fault, but the real issue is often knife wear plus a small build up of resin. When knives lose their edge, they stop cutting cleanly and start rubbing. That extra friction also heats the cutter head, which can affect finish quality and the life of the machine bearings over time.
- Ridges repeating at the same spacing across the board
- Fuzz on the surface after the first pass
- More tear out near knots or grain changes
- Burn marks on dense timber or resinous stock
- Need for slower feed speed to get a decent cut
The common wear patterns we see in local workshops
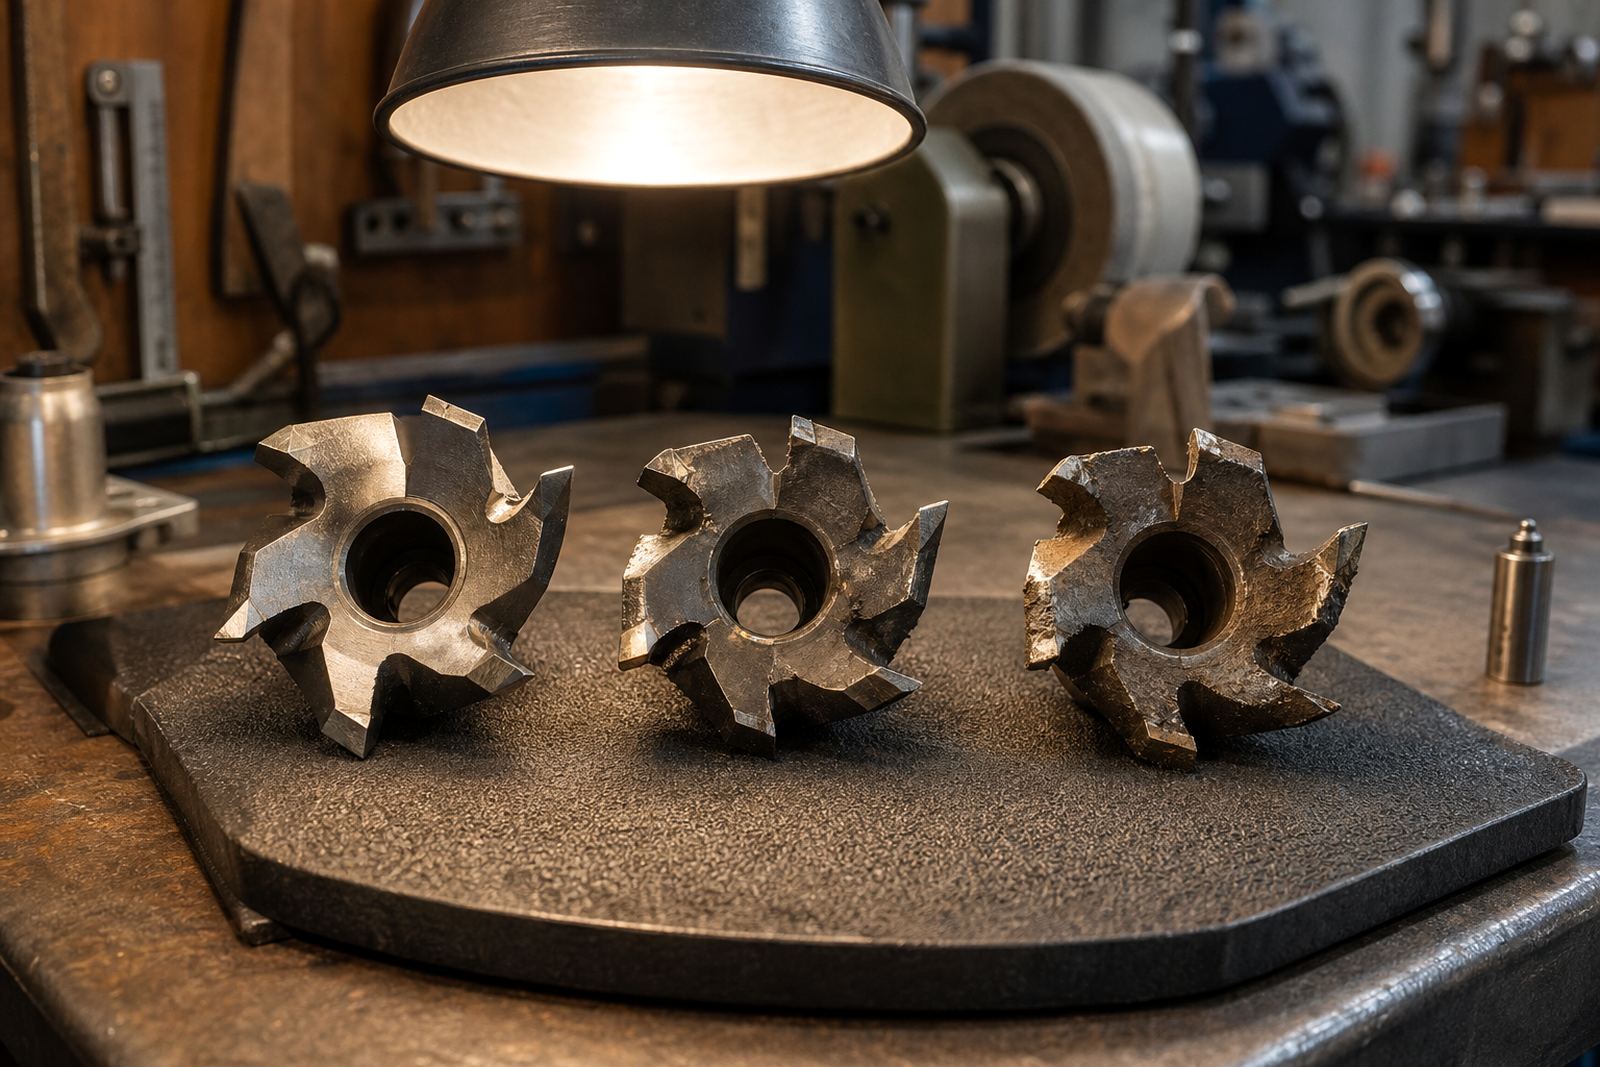
Knife wear does not happen in only one way. A planer can lose performance from dull edges, chipped corners, uneven setting or a slight twist across the knife length. Coastal humidity around Durban and Westville can also contribute to rust spots if knives are left on the machine or stored badly after use. In Johannesburg or Pretoria, the bigger issue is often dust contamination and long cutting runs on dry timber, which can blunt an edge quicker than expected.
When a knife is chipped, the damage usually leaves a repeating mark each time the cutter head turns. If the edge is simply worn, the finish gets dull and the machine starts working harder. If one knife sits higher than the others, the board may come out with a stepped surface that looks like poor feed pressure, but it is really a setup issue. That is why checking wear properly matters before a job turns into wasted material.
- General edge wear from long use on pine, hardwood or MDF
- Chipped sections from hidden nails, staples or grit
- Uneven grind from previous resharpening
- Rust pitting after storage in humid conditions
- Overheated edges that lose hardness at the cutting line
Why knife condition changes your final finish and sanding time
A clean planer cut saves time twice. First, it leaves a better finish straight off the machine. Second, it reduces how much sanding is needed before assembly, sealing or painting. If the knives are worn, the timber can look acceptable at a glance but still carry tiny ridges and fibre lift that become obvious once a finish goes on. On clear timber that is a problem, because the surface defects show up right away under varnish or oil.
For joiners working to municipal or site deadlines, a poor planer finish can slow the whole job. If a cupboard side or door stile needs extra sanding, the man-hours climb quickly. A set of sharp knives can also reduce strain on the machine. Less resistance means steadier feed, fewer stops and less chance of burning during long runs. On colder mornings in Pietermaritzburg, a machine with tired knives can struggle before the timber even reaches the outfeed table.
We often tell workshop owners to look at the finish before they look at the feed rollers. The knife edge is usually the first place to check. If the cut is clean, the rest of the process becomes easier, and yes the boards stack up neater too.
Signs it is time to remove and resharpen the set
Most workshops wait too long before sending knives out. That usually means more wastage and more time spent chasing finish problems. If the planer starts leaving a rough track after timber that used to run clean, the knives should be inspected. A small nick can be enough to spoil a long board, especially on visible face work.
Look out for these practical warning signs:
- The machine needs more than one pass for normal stock
- Freshly planed timber feels rough under the hand
- Edge defects appear in the same place across multiple boards
- The motor sounds loaded even on light cuts
- Dust and chips seem finer but the finish gets worse
Do not ignore the smaller clues. A bit of chatter on one job can turn into a full resharpening need by the next batch. In busy shops, especially where timber arrives by courier from different towns, it is worth checking knives between batches rather than waiting for a failed run.
What proper regrinding should achieve for planer knives
A proper regrind should restore a sharp, even cutting edge and keep the knife lengths matched. The goal is not only sharpness but consistency across the full set. If one knife is ground differently from the others, the planer can leave tracks or leave one side of the board slightly higher than the other. Balance matters too, because an uneven set can create vibration and extra noise.
At CutTool Sharpening in Pinetown, planer knife wear is treated as a finish problem first and a tool problem second. That means checking for chips, setting the angle correctly, and making sure the edge is ready for the timber type being run. For workshops in Durban, Hillcrest or Cape Town, the right grind can make a marked difference on both softwood and harder species. The point is simple: the knife should cut, not rub.
- Restore a clean edge without over grinding the blade
- Match the knife set so all blades cut at the same height
- Check for edge damage before the knife goes back in service
- Confirm the profile suits the timber and machine setup
- Reduce chatter, tearing and surface marks on the board
Keeping knives working longer between services
Good knife life starts with handling and storage. Wipe the blades after use, keep them dry and avoid knocking the edges against steel surfaces. If your workshop is close to the coast, moisture control matters even more. A light film of protective oil can help after cleaning, especially when the machine may sit idle over a weekend or during load shedding interruptions.
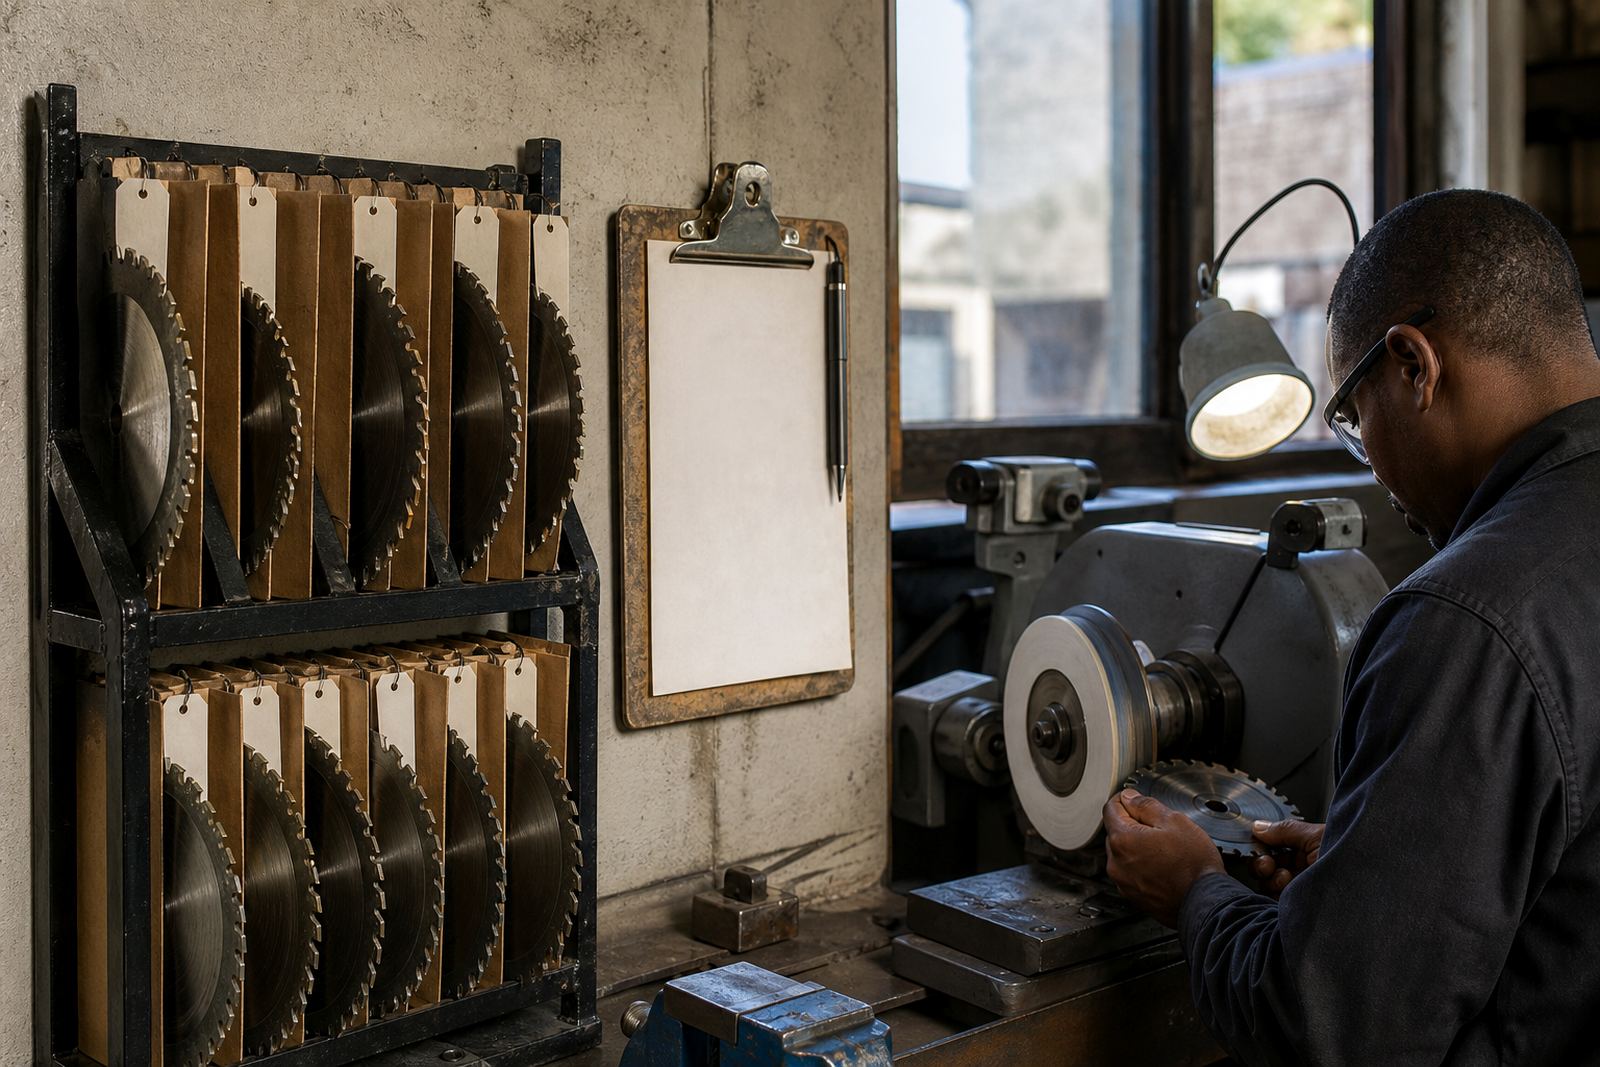
Training also helps. Many operators are careful with the stock but rough with the knives during changeover. A chipped edge from a careless drop can ruin the next batch. Batch tool tagging is useful when several sets are moving between the shop and the sharpening bench, because it reduces mix ups and helps track wear patterns over time. For businesses that collect and send tools between Pinetown, Johannesburg, Pretoria and Cape Town, that kind of tracking saves repeat work and wasted downtime.
If the timber finish has started to slip, do not keep pushing through and hoping it clears. Sharp knives are part of the process, not an extra. Check them early, and the boards will show the difference straight away.