
Why Laminated Boards Chip So Easily
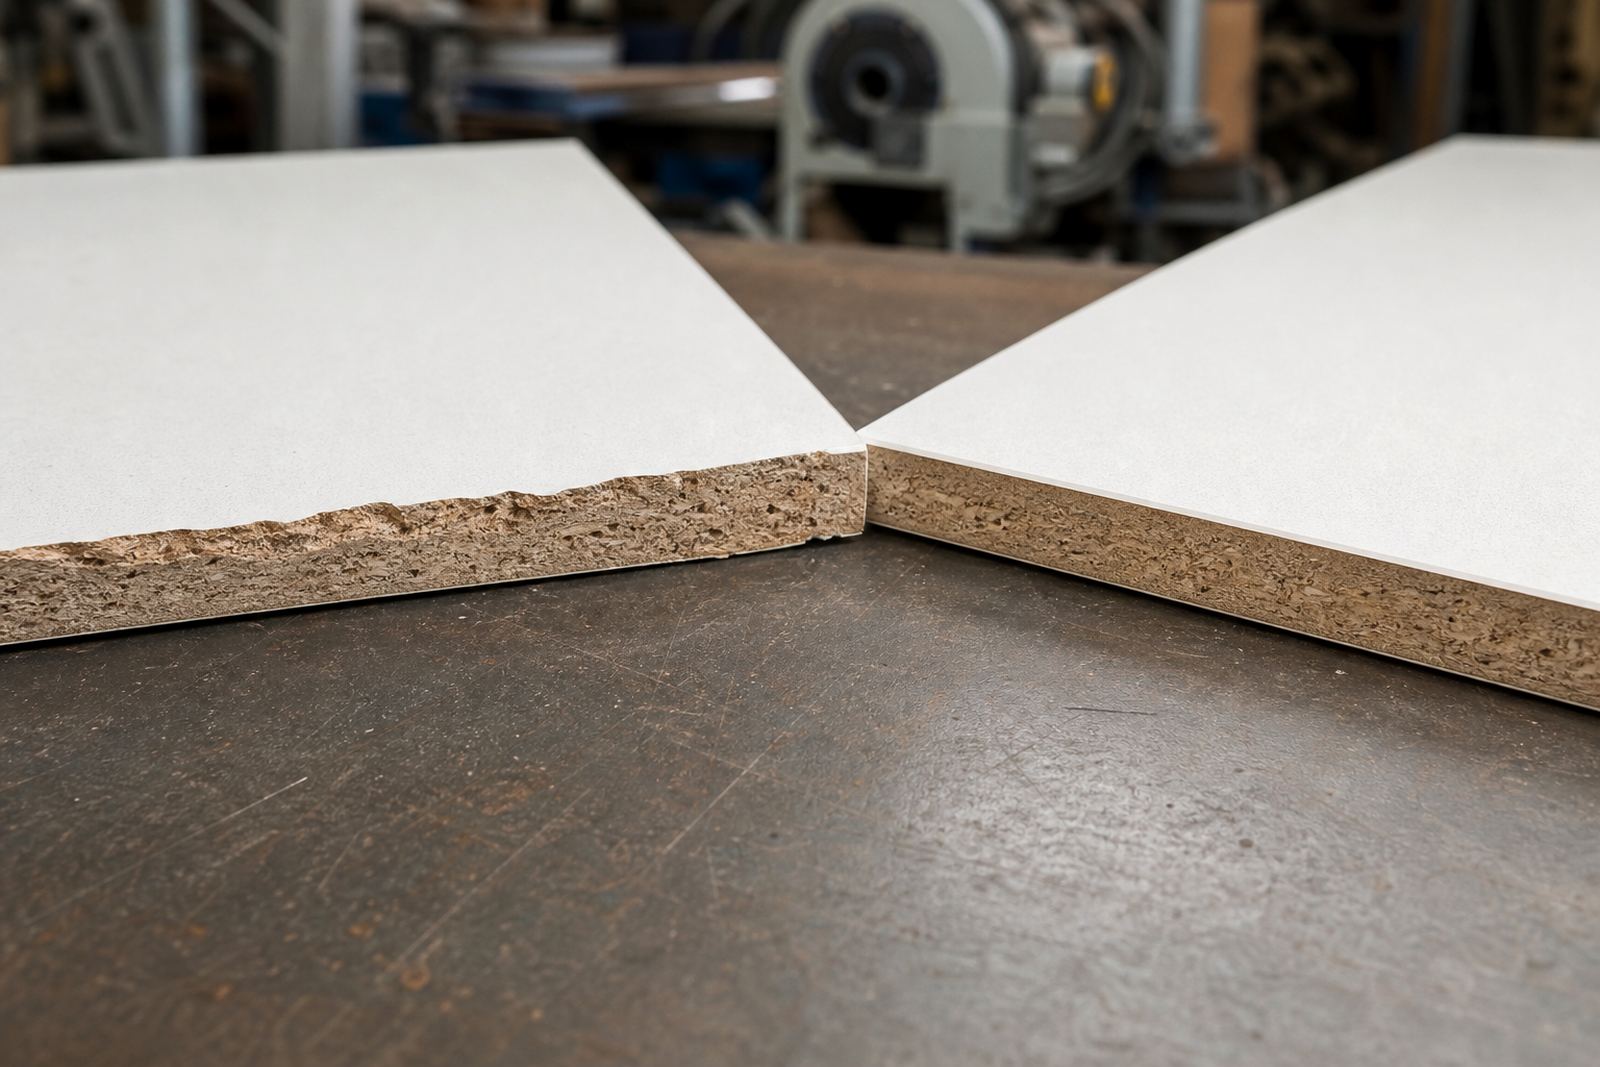
Laminate and melamine faced boards are unforgiving. The surface layer is hard and brittle, while the board core underneath can be softer and more open. Once a cutter lifts the face grain or crushes the top layer, the edge starts breaking away and the damage travels fast.
In many workshops, the problem shows up most on exit cuts, crosscuts and short offcuts where the board has little support. If the saw blade or router bit is dull, or the cutting angle is slightly off, the finish gets rough very quickly. Even a clean machine can give poor results if the cutting tool is tired.
- Watch for chipping at the top edge, not just the underside.
- Check whether the damage appears on entry, exit or both sides.
- Inspect recent cuts on white, grey and woodgrain boards separately.
Get the Blade or Bit Sharp Before You Change Anything Else
Before adjusting guides and fences, inspect the cutting edge. A dull saw tooth or router cutter does not slice the laminate cleanly, it tears it. That is why chip-out often gets worse in the last few jobs before a tool is sent for sharpening.
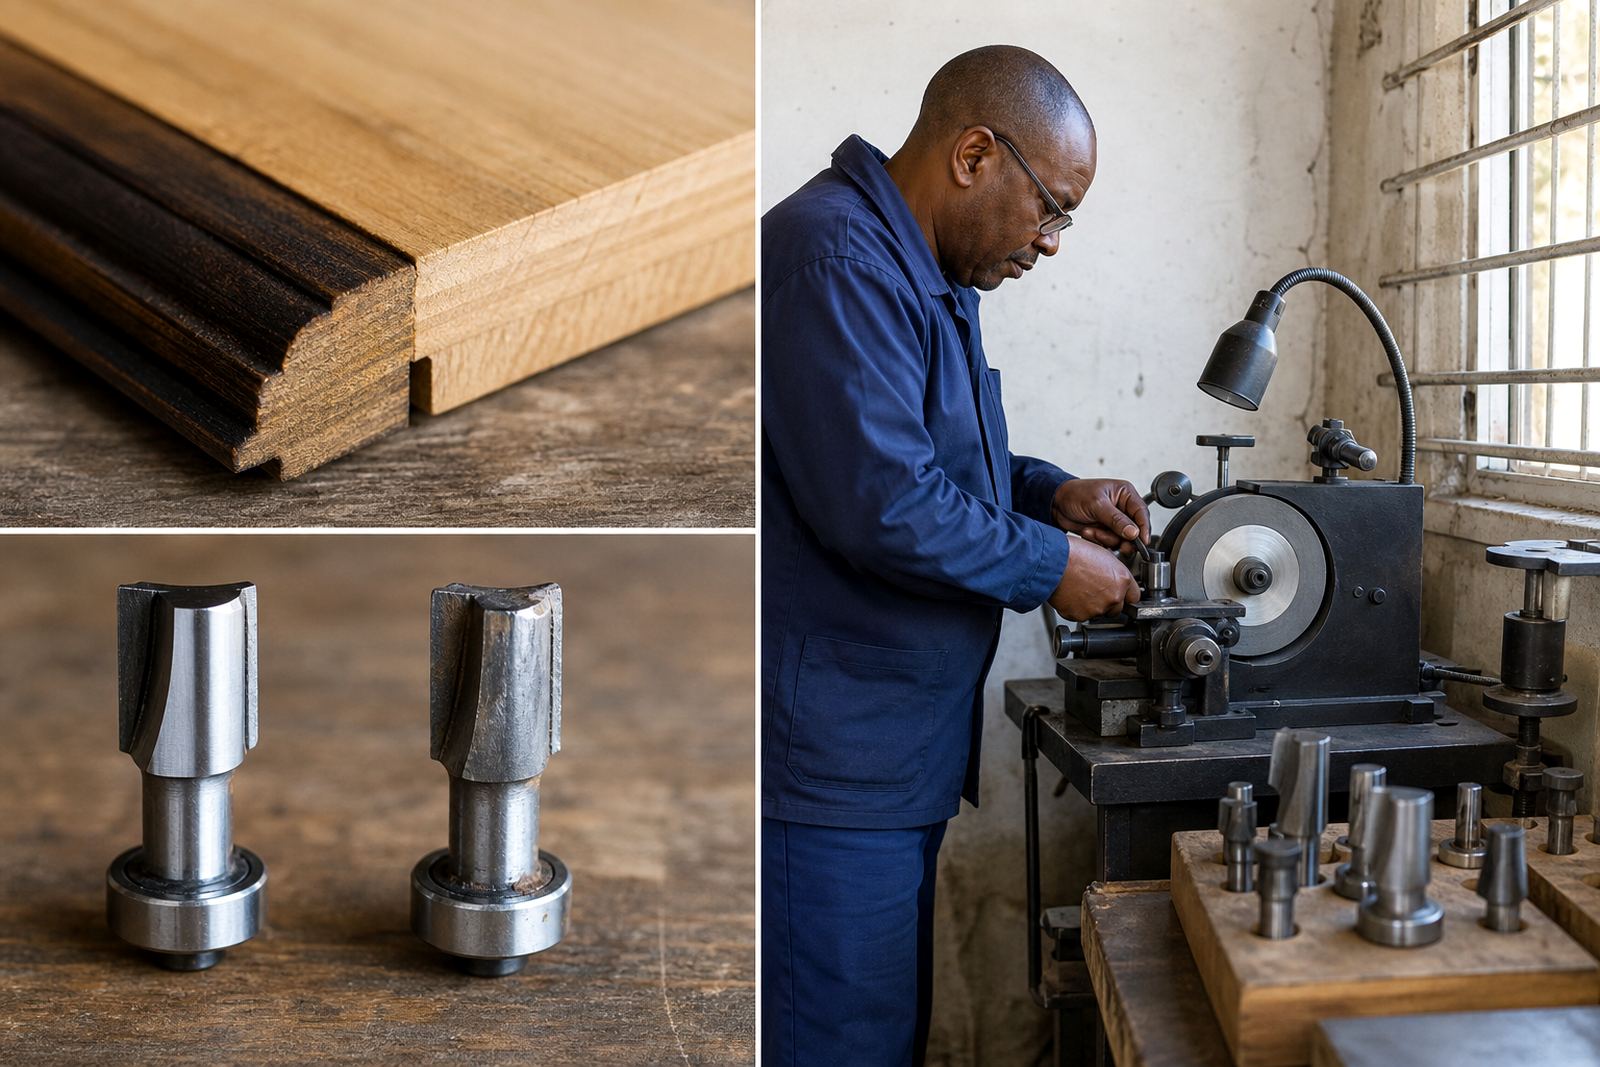
At a workshop in Pinetown, we often see the same pattern after a busy week of cabinet work or fit-out jobs. The operator blames the board, but the real issue is wear on the tool, slight heat damage, or a rounded cutting edge. Once the edge is restored, cutting usually improves straight away.
- Look for burn marks, glazing, rounded teeth and uneven cutting feel.
- Ask whether the blade has been used on board only, or mixed with timber and plastic.
- For routers, check for chipped carbide, packed resin and tip wear.
Cutting Settings That Reduce Surface Breakout
Speed matters. Feed too slowly and the cutter rubs, heat builds up and the laminate starts to lift. Feed too quickly and the tooth grabs the face. The aim is a steady pace that lets the cutting edge do the work without forcing the board.
Support matters as well. A flat table, tight fence alignment and proper board support on both sides of the cut all help. On longer panels, use clean sacrificial backing where possible. It is a simple fix, but it makes a noticeable difference on melamine sheets and veneered boards too.
- Keep panels fully supported before and after the cut line.
- Use a stable feed rate, not stop start pressure.
- Check that the fence, guide and blade path are square before batch work.
Where Scoring, Top Grinding and Exit Control Help
For panel saw work, scoring can reduce chip-out on the top face by pre-cutting the surface layer before the main blade follows through. When the scoring pass is set correctly, the surface breaks cleanly instead of lifting away in flakes.
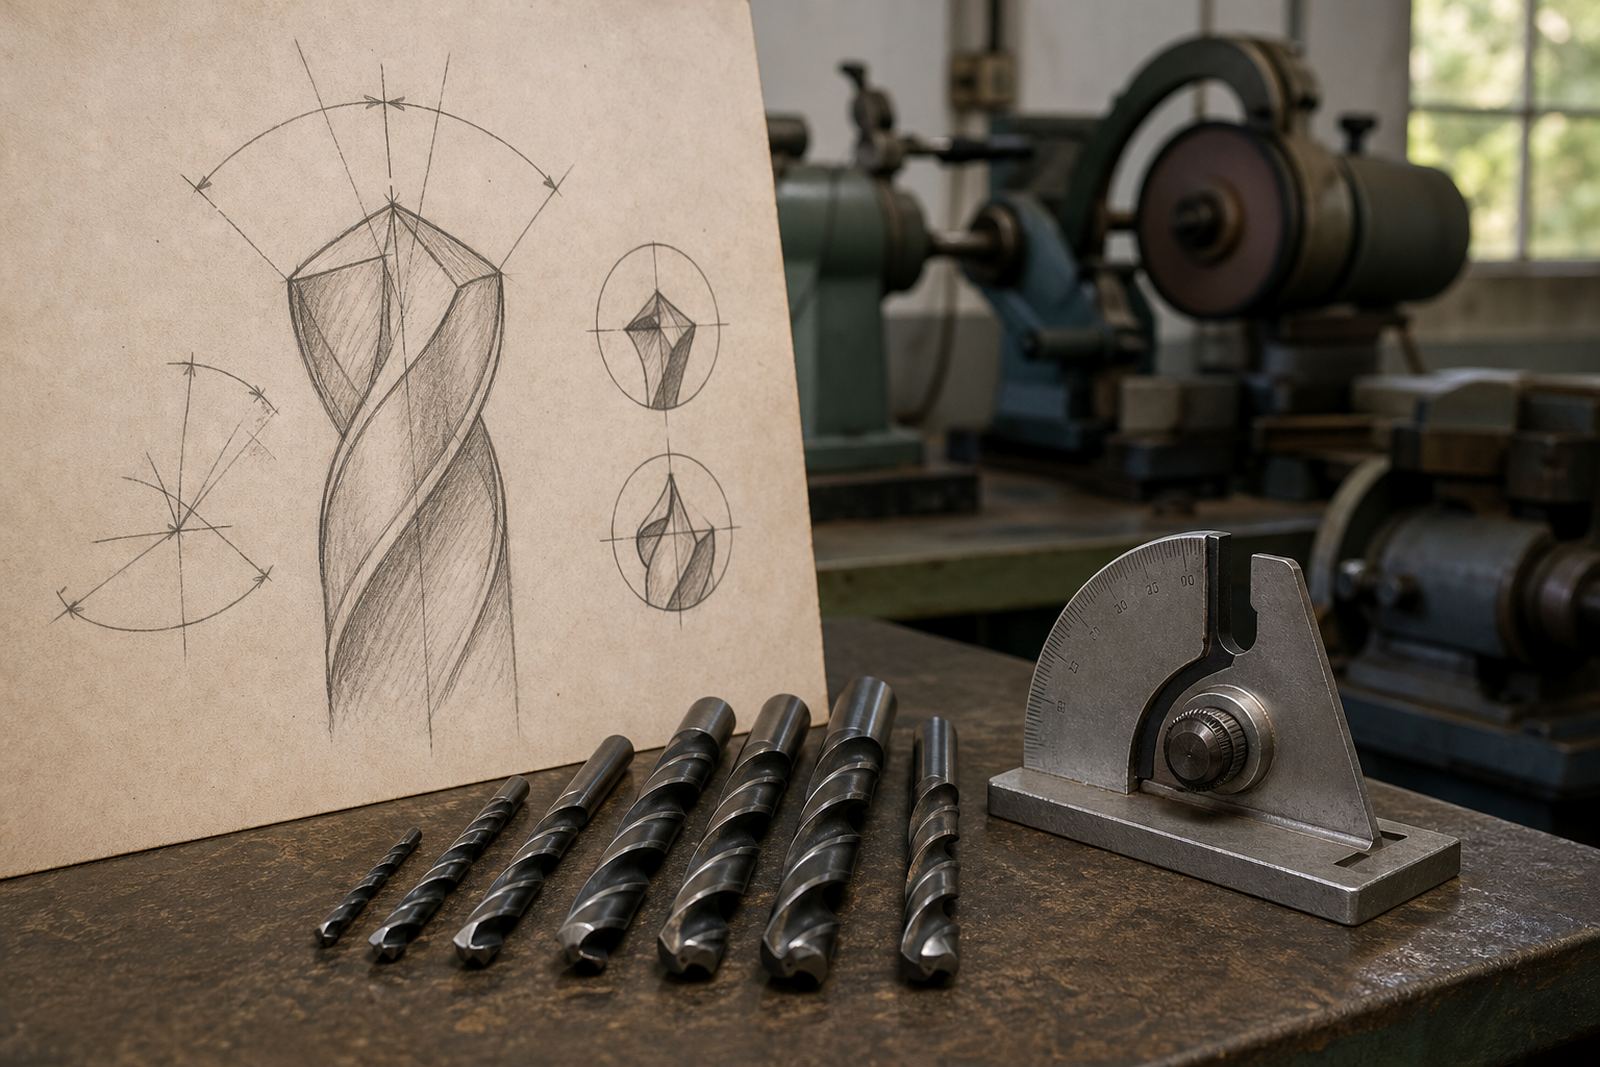
Top grinding and angle correction can also help on certain saw blades, especially where a blade has been used hard and the tooth geometry is no longer doing its job. If the blade has picked up damage from nail contact, poor storage, or overloaded cutting, a proper regrind and balance check can bring the finish back to a usable standard.
- Use scoring for laminated sheets where the finish face matters most.
- Check tooth height and alignment after any service.
- Do not mix up blades for rough work and finish work unless you have inspected them first.
Router Bit Chip-Out on Edges and Grooves
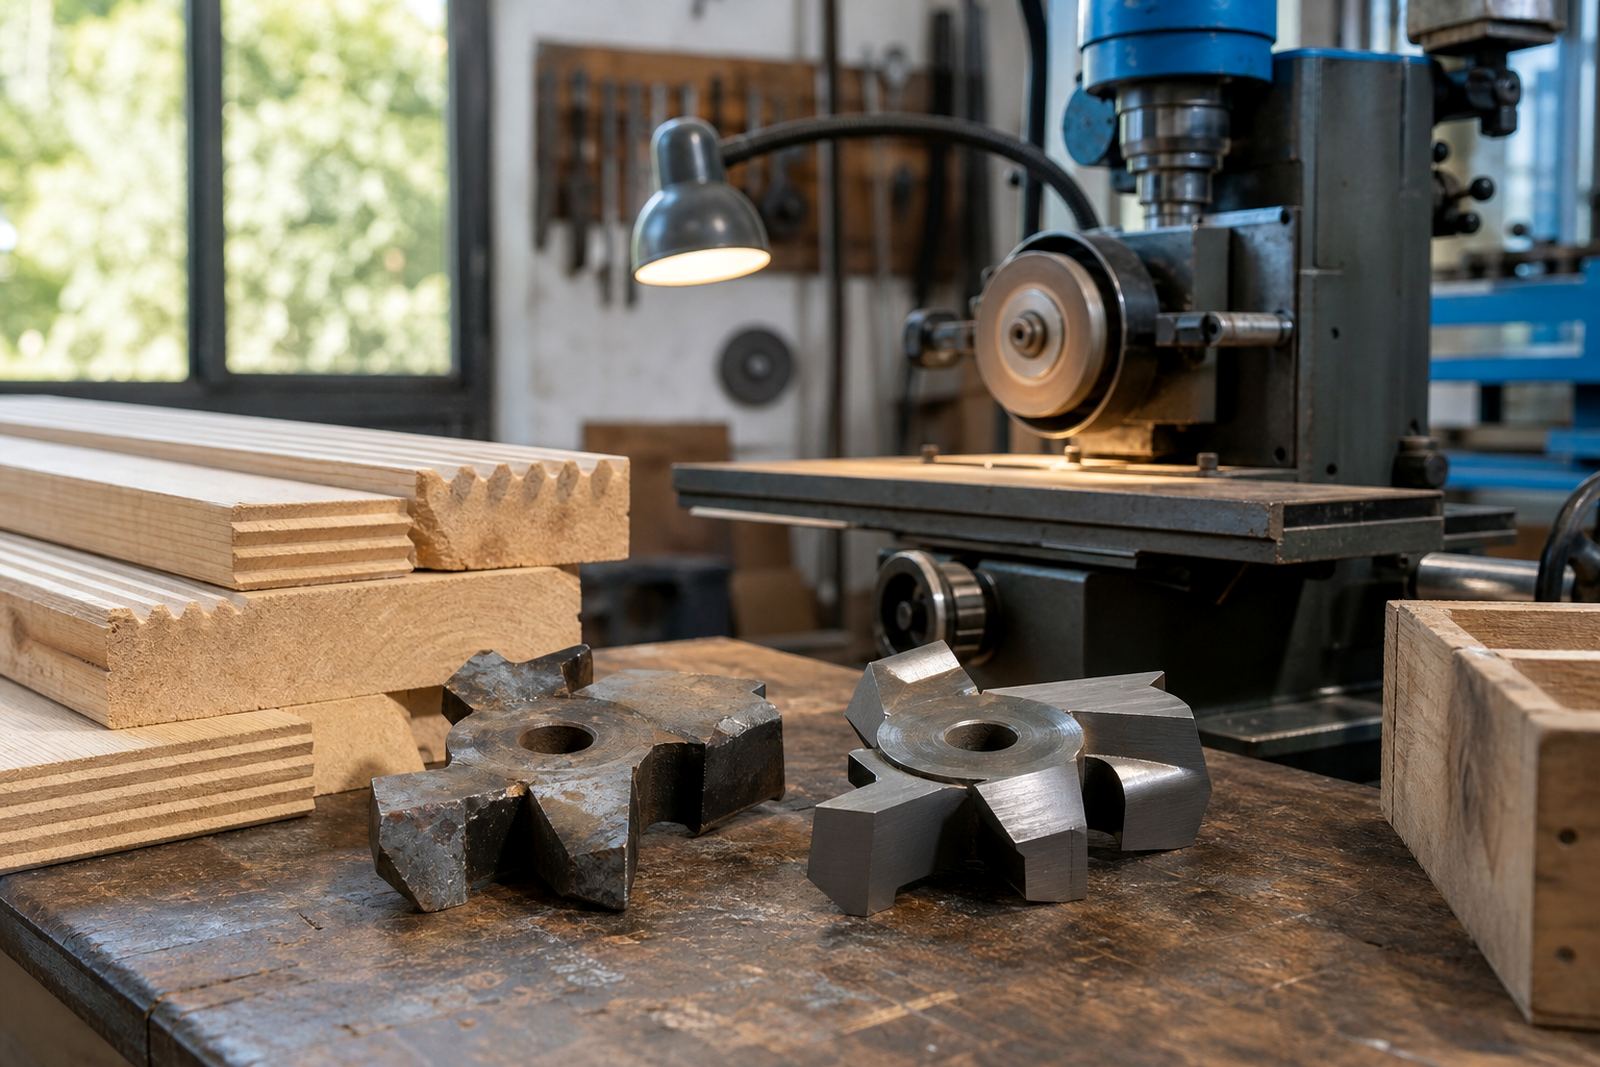
Router work on laminates needs even more care, especially on exposed edges and shallow grooves. A worn bit can leave a ragged edge, then the first pass chips the face and the second pass makes it worse. This is common on cabinet doors, edging strips and cutouts around sinks or appliance panels.
For cleaner results, use sharp cutter edges, secure clamping and a proper direction of cut for the material and machine setup. Climb cutting can help in some situations, but only if the operator knows how to control the tool. If not, the job becomes riskier, not cleaner.
- Clamp the work firmly so it cannot chatter.
- Use light passes on laminated edges rather than one heavy cut.
- Remove resin build-up before the next job, because packed debris changes the cut quality.
A Practical Workshop Routine for Better Finish Quality
The easiest way to reduce chip-out is to treat tool condition as part of the cut process, not as a separate task. Keep a simple routine: inspect, sharpen, tag, test and store properly. That habit saves time on site and cuts down on wasted board.
For local contractors in Durban, Westville or Hillcrest, the same rule applies whether the job is a kitchen carcass, office fit-out or a small batch of shelves. If boards are being couriered in from elsewhere in South Africa, label the tools clearly and separate mixed batches so the right blade or bit comes back to the right team. It sounds basic, but it prevents mix ups and missed deadlines.
- Store cutters dry to avoid corrosion in coastal humidity.
- Separate damaged, dull and ready-to-use tools with batch tags.
- Keep a schedule for sharpening before the job turns into rework.