
Check for uneven wear across the full cutting face
A single bad tooth is a warning, but uneven wear across the full set tells you more about how the tool has been working. If some teeth are sharp and others are worn back, the tool may have been fed too aggressively, run out of balance, or mounted poorly. This is where simple checking can prevent a bigger problem later.
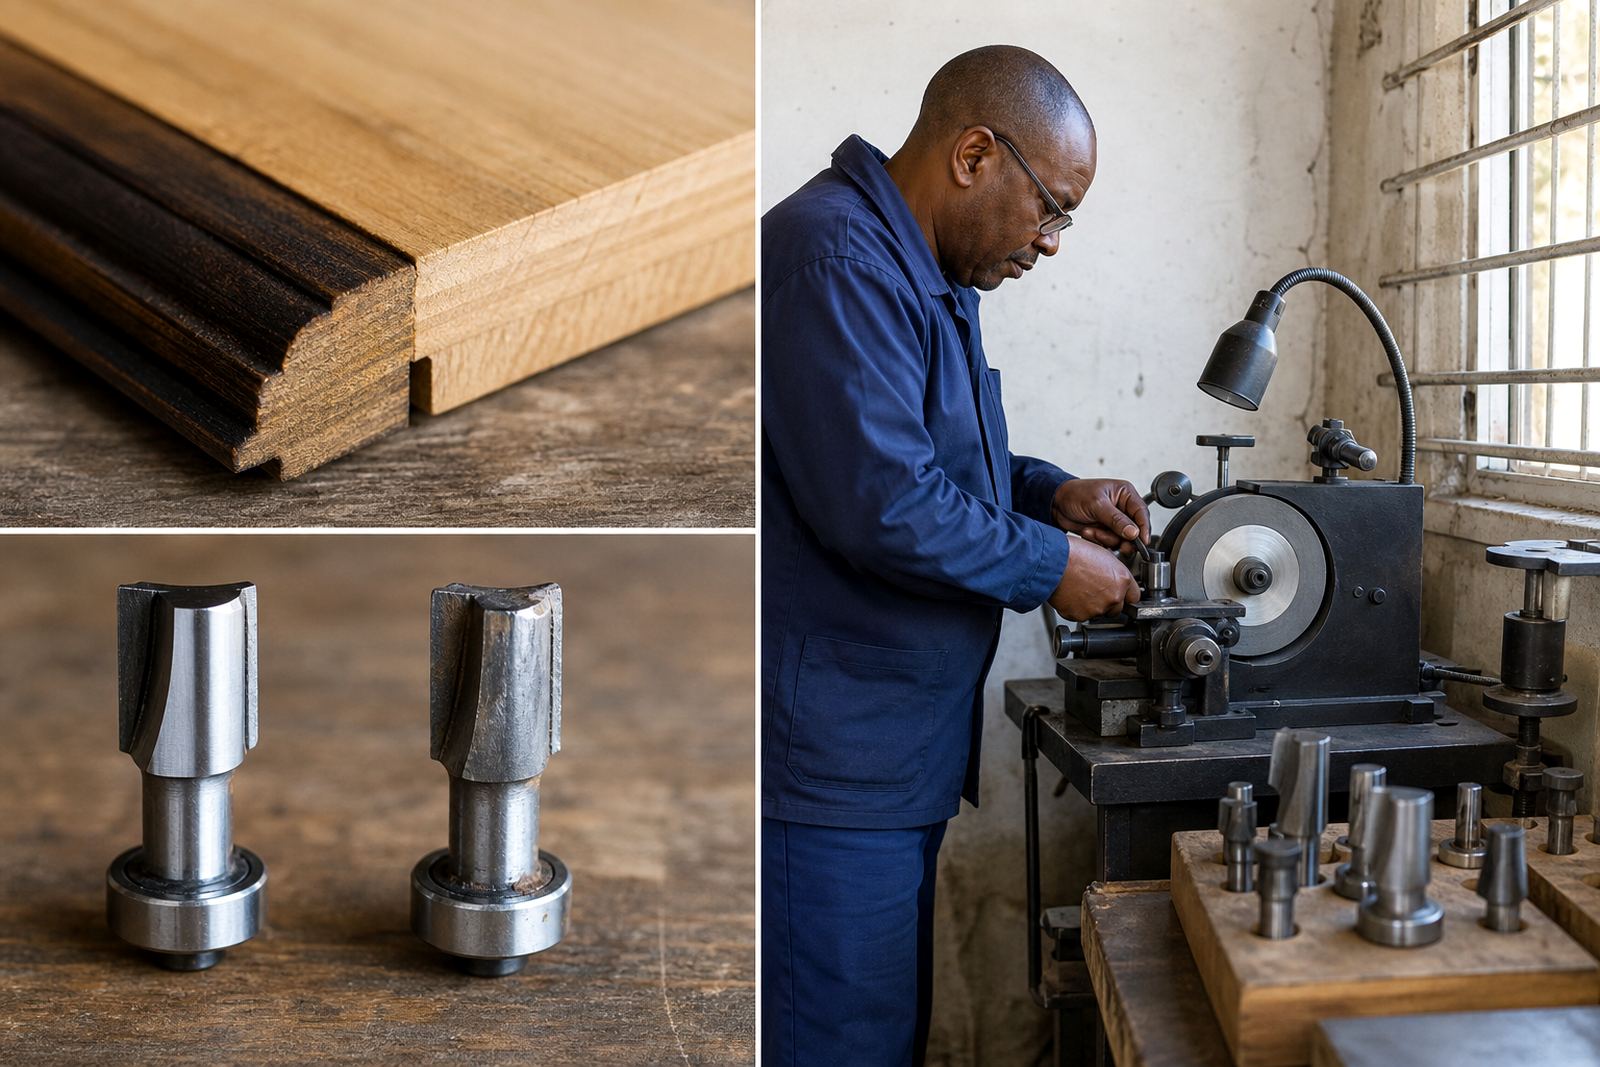
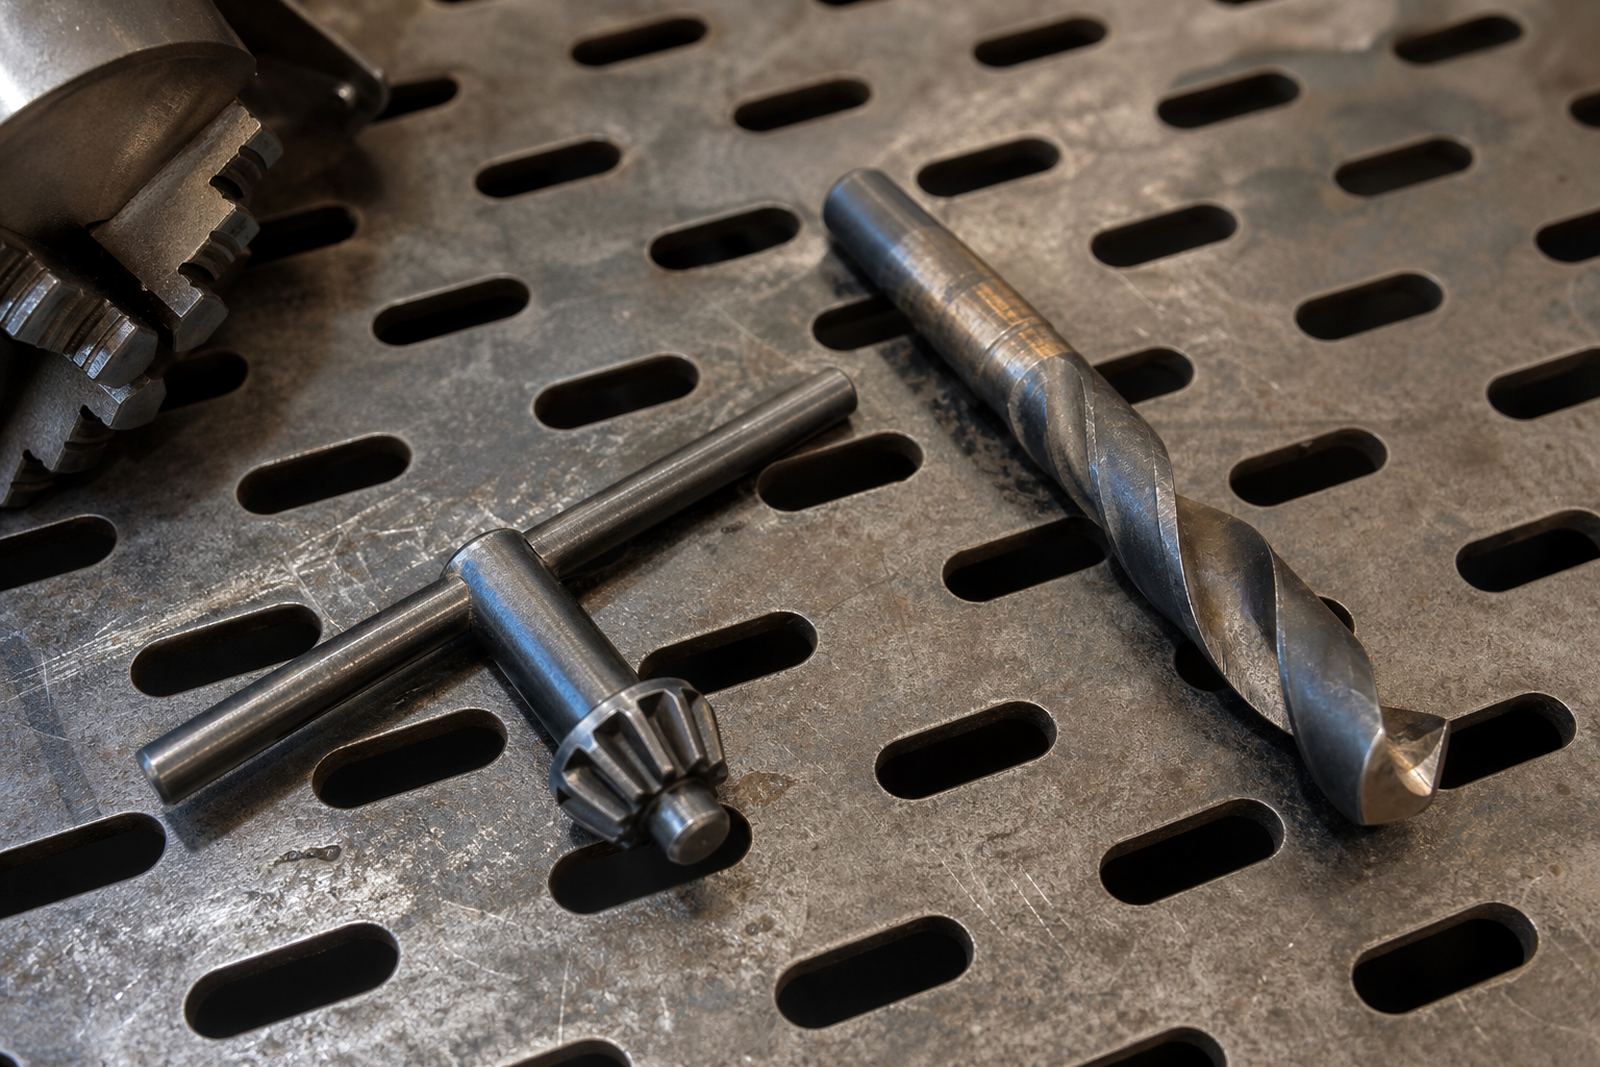
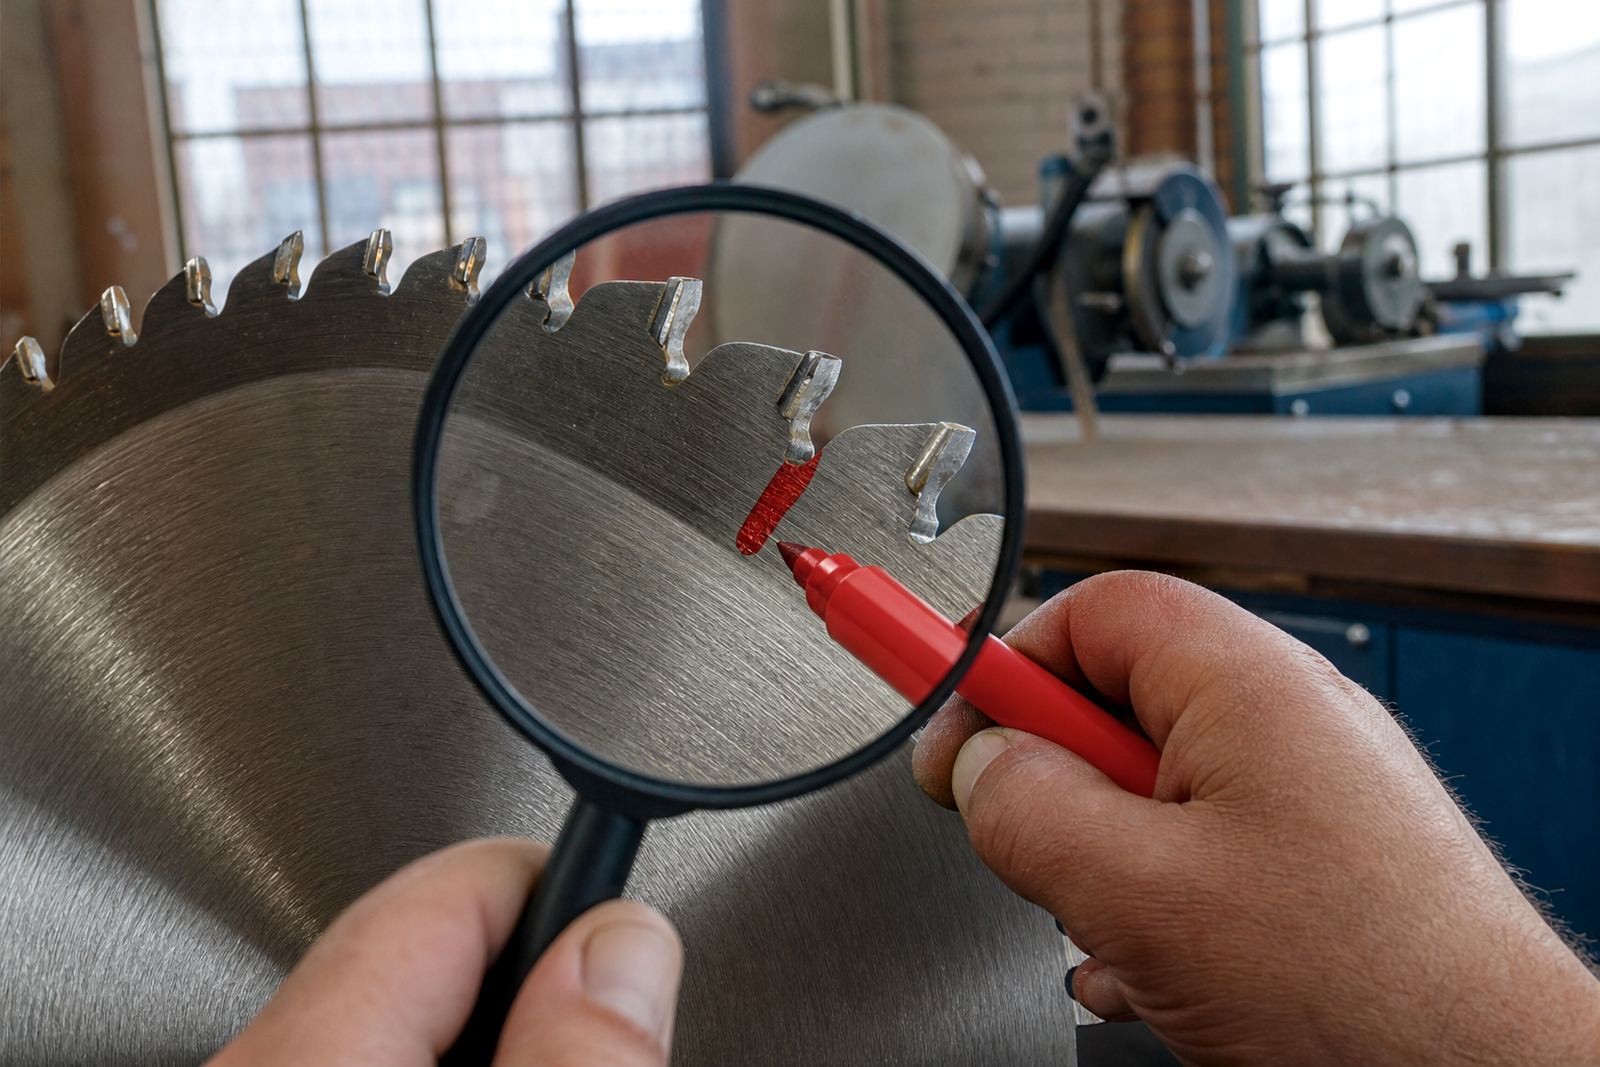
For saw blades, compare the tooth shape from one side of the blade to the other. For drills, check the point symmetry and whether one lip is shorter than the other. For router bits, make sure the cutters still match in height and profile. A tool that looks fine at a distance can still be out of line by a small amount, and that is often enough to spoil the finish.
- Uneven wear causes vibration and rough cutting
- Different tooth heights can leave burn marks or chatter
- Shortened cutting edges can force the machine operator to push harder
- If one side is doing all the work, the tool may need regrinding rather than a simple sharpen
Listen to the cut and read the surface finish
The workpiece often tells you when the teeth are damaged. If a saw starts to squeal, leave dark burn marks, or leave fuzzy edges on timber, there may be chipped or rolled teeth. A drill that once cut cleanly but now walks, chatters or overheats is also worth checking. Router bits that leave torn grain or a rough edge usually need attention even if the damage is not obvious at first glance.
Do a quick comparison test if possible. Cut a small offcut with a known good tool, then compare it with the suspect one. If the bad cut needs more force, leaves more dust than chips, or starts to smell hot, the edge has likely lost its shape. In many cases the problem is not the whole tool, only a few damaged teeth causing the rest to work harder than they should.
A practical rule is simple: if the finish has changed and the machine sounds different, stop and inspect before carrying on. That saves material and often saves the tool too.
Use a simple sorting routine before collection or regrinding
Once you find damage, sort the tools before sending them for sharpening or courier collection. Keep the heavily damaged items separate from the lightly worn ones, and note anything unusual such as missing teeth, visible cracks, or heat discolouration. This helps the workshop decide whether the tool can be sharpened, needs tooth face grinding, or requires diameter correction and balance checking.
If you are running a small shop, a better sorting routine also saves time on the receiving side. Tag each batch, keep the same tool type together, and include the machine type or material used where possible. A blade used on MDF behaves differently from one used on hardwood or plastic, and that detail can affect the grinding approach.
- Separate saw blades, drills and router bits into different trays
- Mark damaged teeth or missing sections with a small tag
- Note the material cut most often, such as timber, MDF or plastic
- Record any burn marks, chipped edges or vibration issues
Why early damage checks save money in South African workshops
Early inspection is not only about appearance. A chipped tooth can spread wear to the next teeth, increase motor strain and produce more heat. Over time that leads to slower production, higher electricity use and more frequent tool replacement. In a country where many workshops already plan around load-shedding and tight schedules, the last thing you need is a tool failing halfway through a job.
Take a small cabinet maker in Westville as an example. If a circular saw blade starts leaving burn marks on laminate, the operator may keep pushing harder to finish the job. That extra pressure can worsen the damage and the cut quality drops even more. A quick check at the first sign of heat or roughness would usually catch the problem before the blade becomes difficult to save. The same applies to drills used on site in Durban or to router bits doing repeated edge work in Pretoria.
When in doubt, stop using the tool and have it assessed. A proper inspection can separate normal wear from real damage, and that makes the next step much easier, whether the tool needs sharpening, regrinding or a full correction.