
Why Dust Changes The Cut Line
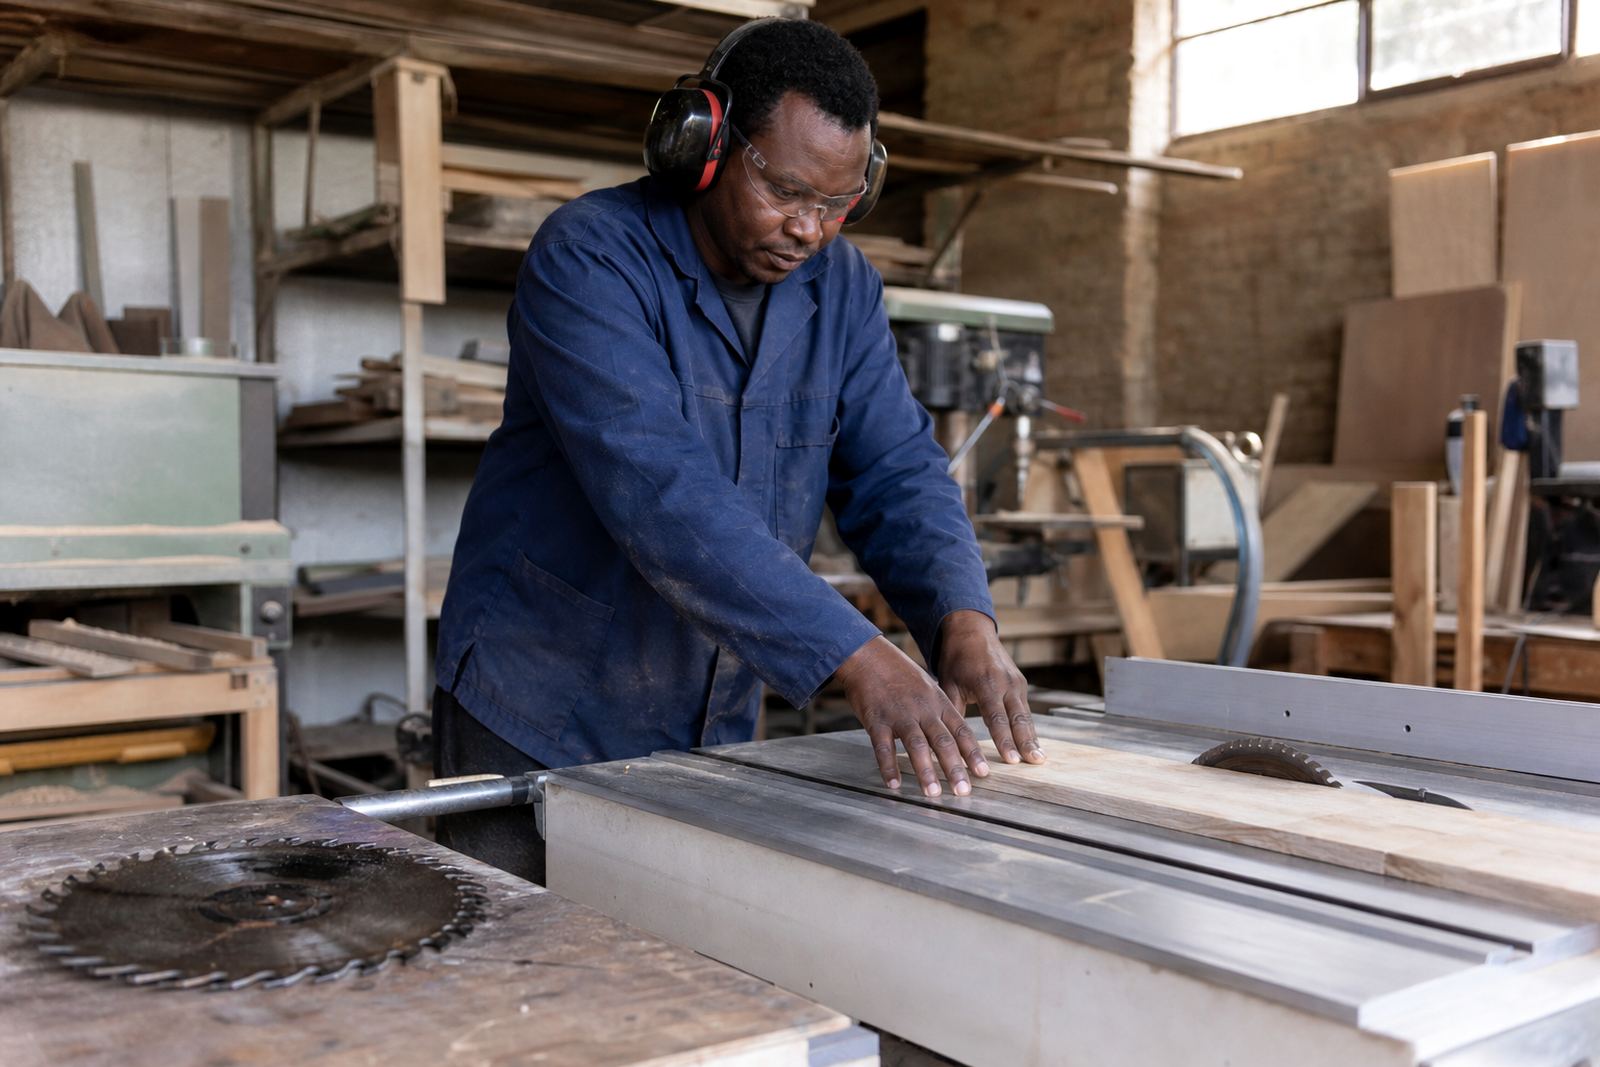
In a busy workshop, sawdust does more than make a mess. Fine dust can sit on fence faces, guide rails and table tops, then change the way timber feeds through the machine. A board that should run dead straight may start drifting by a millimetre or two, and that is enough to spoil cabinet parts, trims, and repeated cuts.
The problem is worse on saws that get used all day in Pinetown, Durban and Pietermaritzburg, especially where humidity is high. Dust clumps, sticks and packs into corners. If the machine is near a roller door or outside storeroom, coastal moisture can make the build-up harder to brush off.
Start With The Fence, Guides And Stops
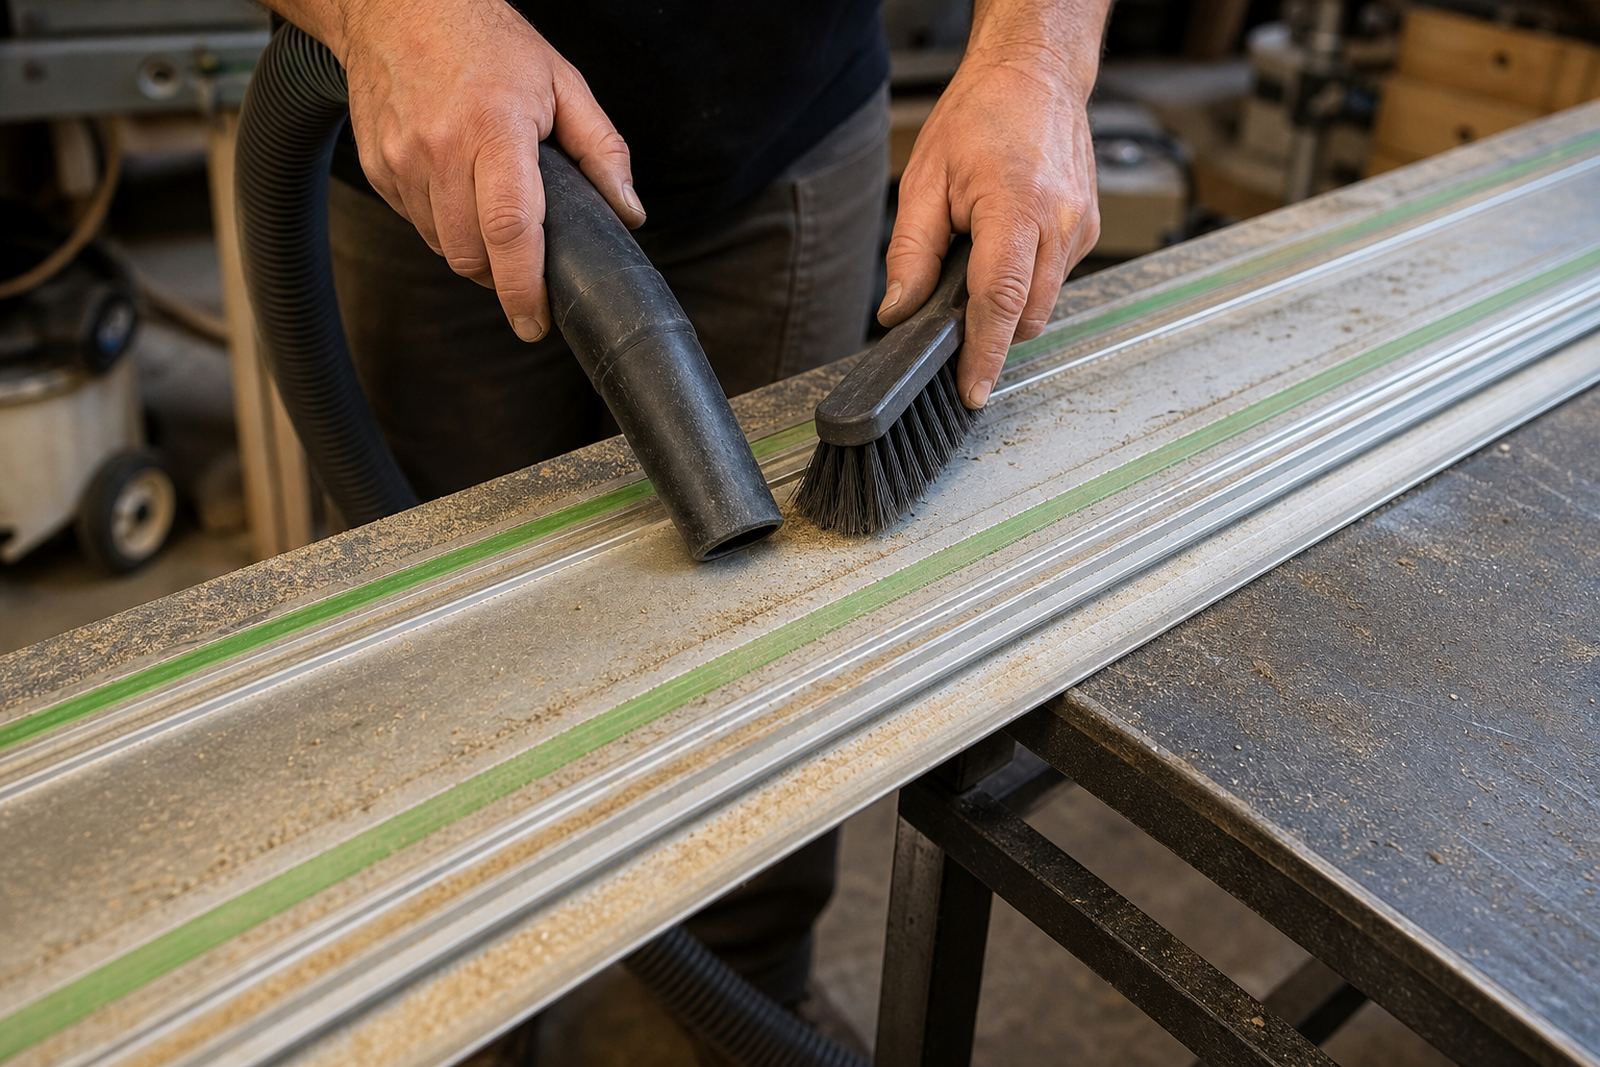
Accuracy begins with the surfaces the workpiece touches. Before blaming the blade, check the fence face, sliding guide, mitre stop and any roller support. A thin line of compacted dust can push material off square and that means the angle on your final piece is wrong even if the cut looks clean.
- Wipe the fence face before the first cut of the day.
- Check that guide rails move without grit or tight spots.
- Inspect stop blocks for dust under the clamp edge.
- Look for resin and sawdust on aluminium surfaces too.
If the machine has not been cleaned since the previous shift, you may be fighting the saw as much as the setting. A quick wipe takes less time than re-cutting a batch.
Blades, Teeth And Build-Up On The Cut Edge
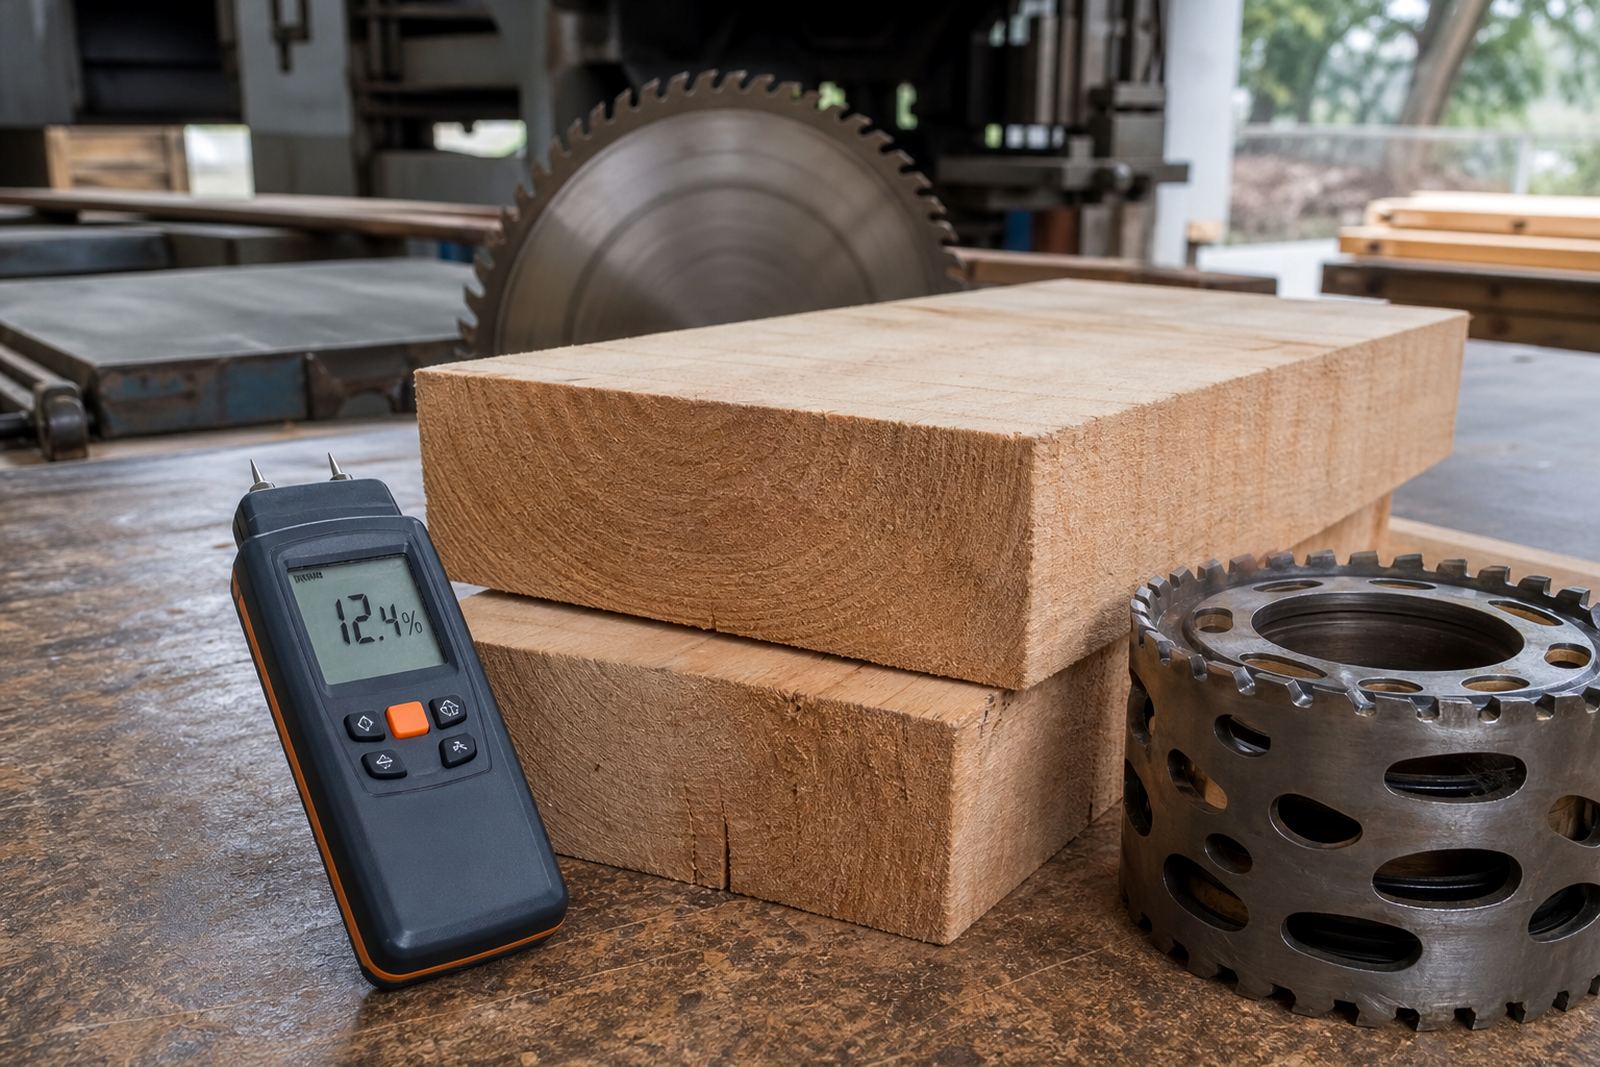
A blade with packed dust between the teeth does not clear waste properly. That can cause burn marks, noisy running and slower feed speed. It can also make the operator push harder, which increases drift and puts strain on the motor. On router bits, the same issue shows up as rough edges and poor profile detail.
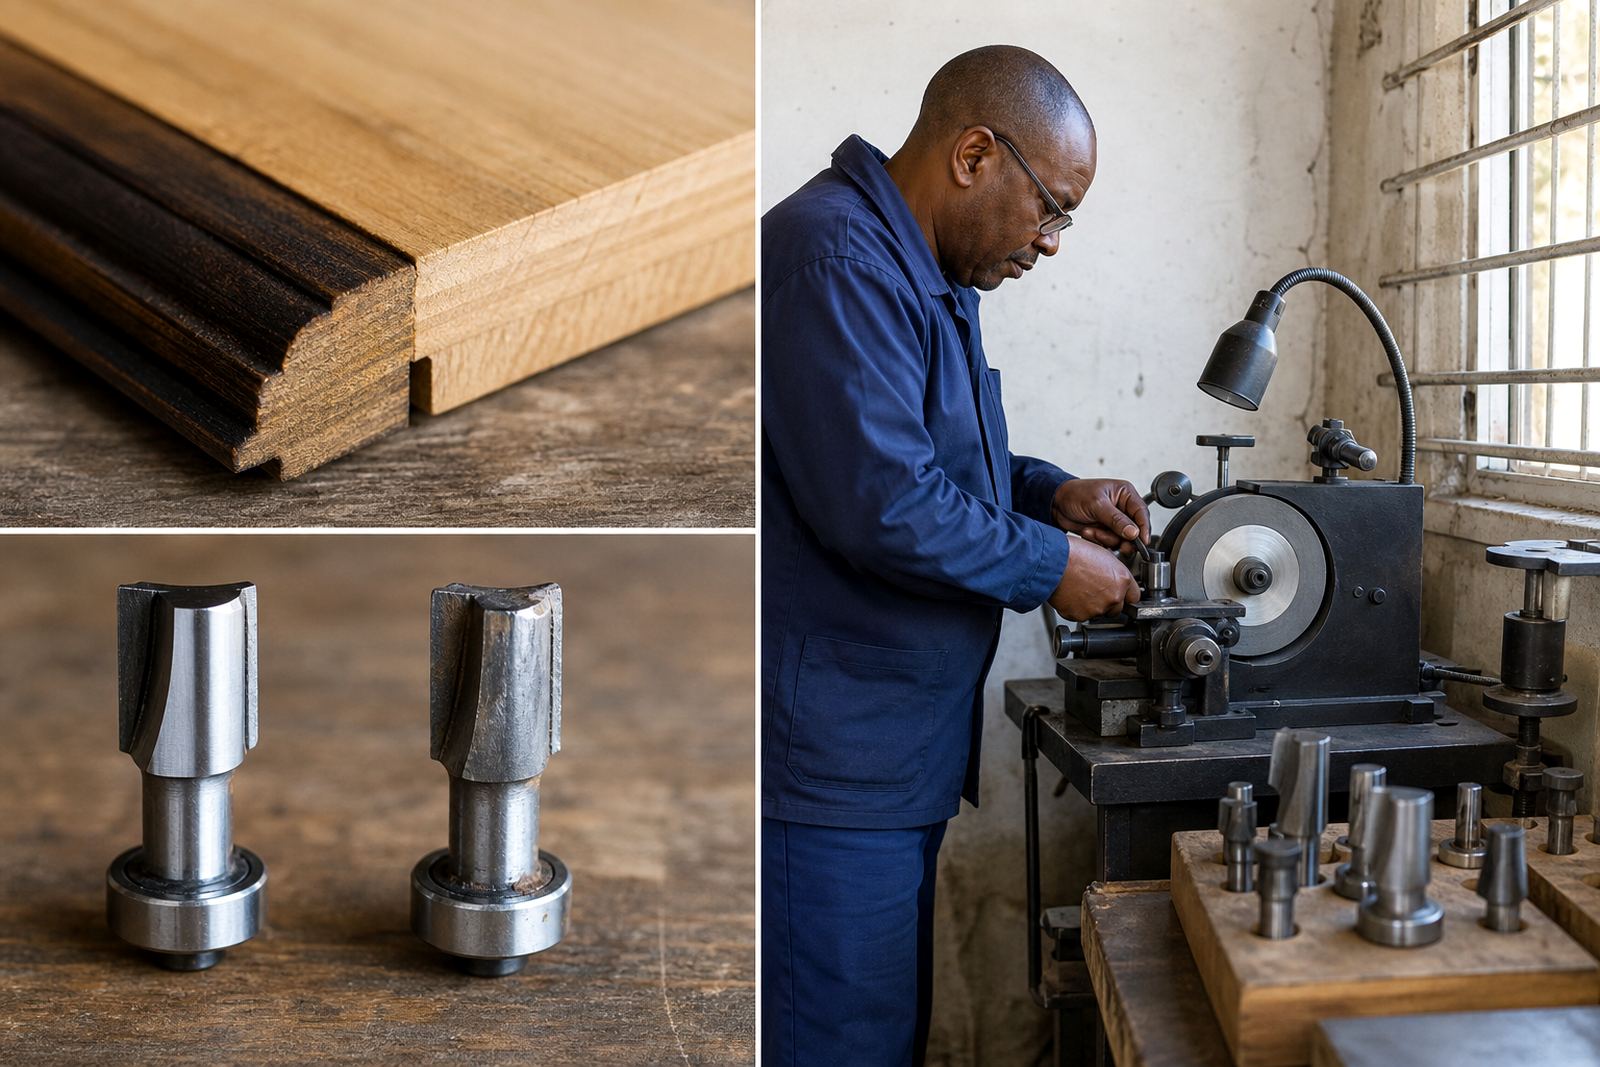
At CutTool Sharpening we see this often when saw blades come in from workshops around Westville, Hillcrest and across Gauteng. The edge may still look usable at a glance, but once the tooth faces are checked, the problem is clear. Regrinding, tooth face grinding and top grinding restore the cutting geometry so the tool can do its job again. Sometimes there is also chipped edge recovery or diameter correction needed, depending on how long the tool has been run while dirty.
- Burn marks can point to poor chip clearance.
- Chatter may come from dull teeth and dirt together.
- Rough edges on routed work can mean resin and dust on the bit.
- If the blade feels hot quickly, stop and check the cut path.
A Simple Cleaning Routine That Fits A Real Workshop
You do not need an elaborate routine. You need something that fits the way the workshop actually runs. A few minutes of cleaning at changeover, end of shift or before a batch run can keep the set-up consistent. Use a brush, cloth and vacuum where possible. On load-shedding days, it helps to keep the cleaning kit close to the machine so the team can carry on without waiting for power tools or compressed air.
For smaller shops in Pinetown and nearby areas, the best routine is often the simplest one. Clear the table, check the fence, test the feed path and inspect the blade before the first production cut. It is a small habit but it saves material, time and a fair bit of swearing.
- Remove loose dust before measuring anything.
- Clean the base and fence contact points.
- Check for resin around the teeth and gullets.
- Store blades and bits in dry, labelled containers.
When To Send Tools In For Sharpening Or Regrinding
If cleaning no longer restores the cut, the tool may need proper sharpening or regrinding. Signs include repeated burn marks, heavy feed pressure, chipped teeth, uneven cuts and a finish that changes from one board to the next. For drill bits, poor centring and slow penetration can also point to wear. Router bits may show rounded profiles and poor edge quality.
We handle saw blade sharpening, drill sharpening, router bit sharpening, angle resetting, balance checking and batch tool tagging for workshops and individual users. Courier collection is available across South Africa, including Durban, Johannesburg, Pretoria, Cape Town and Pietermaritzburg, so tools do not have to sit in a van or on a shelf while work backs up.
What Pinetown Workshops Can Learn From A Clean Cut
One small cabinet shop in the Pinetown area recently had repeated size changes on long panel cuts. The operator checked the measurements twice, then swapped material and still got the same drift. The issue turned out to be dust packed under the fence face and a blade that had built up fine resin on the tooth edges. After cleaning, sharpening and a proper reset, the cuts came back into line.
That is the point for any workshop from Durban to Cape Town. Accuracy is not only about skill at the machine, it is also about the condition of the contact surfaces and the tool itself. A clean fence, a sharp edge and a steady feed make the difference between a good job and a rework pile.
Keeping Tools Ready For The Next Job
Good workshop habits are easier when the tools are sorted and labelled. Batch tool tagging helps when several blades, drills or router bits move through the same job. Training also matters, especially for new staff or small teams that handle their own maintenance between sharpening cycles. A short session on cleaning, handling and storage can save real money over the year.
Clients can send an enquiry through our contact page to book a collection or ask about training and starter kits. Whether the workshop is in Pinetown, Hillcrest, Westville or further afield, the aim is the same: keep the cutting edge true, keep the machine set correctly, and keep the dust from deciding the finish.