
What causes chip-out on laminated boards
Chip-out happens when the cutter tears the surface instead of slicing it cleanly. On laminated boards, that often means the top layer lifts at the edge, or the underside breaks away near the exit point. In most workshops, the first cause is a dull cutter, but feed rate, blade height, panel support and worn bearings can all play a part too.
In Pinetown and across KZN we often see the same pattern: a customer blames the board, but the tool was already overworked. Heat build-up, resin on the cutting edge and a slight wobble in the machine can make the cut rough very fast, especially when power dips during load-shedding and the operator pushes harder to get through the job.
- Blunt cutting edges that bruise the surface before the cut starts
- Incorrect tooth geometry for laminate or fibreboard
- Fast feed speed that rips rather than slices
- Loose guides, worn bearings or poor alignment
- Insufficient support under the panel near the cut line
Choose the right cutter before you start
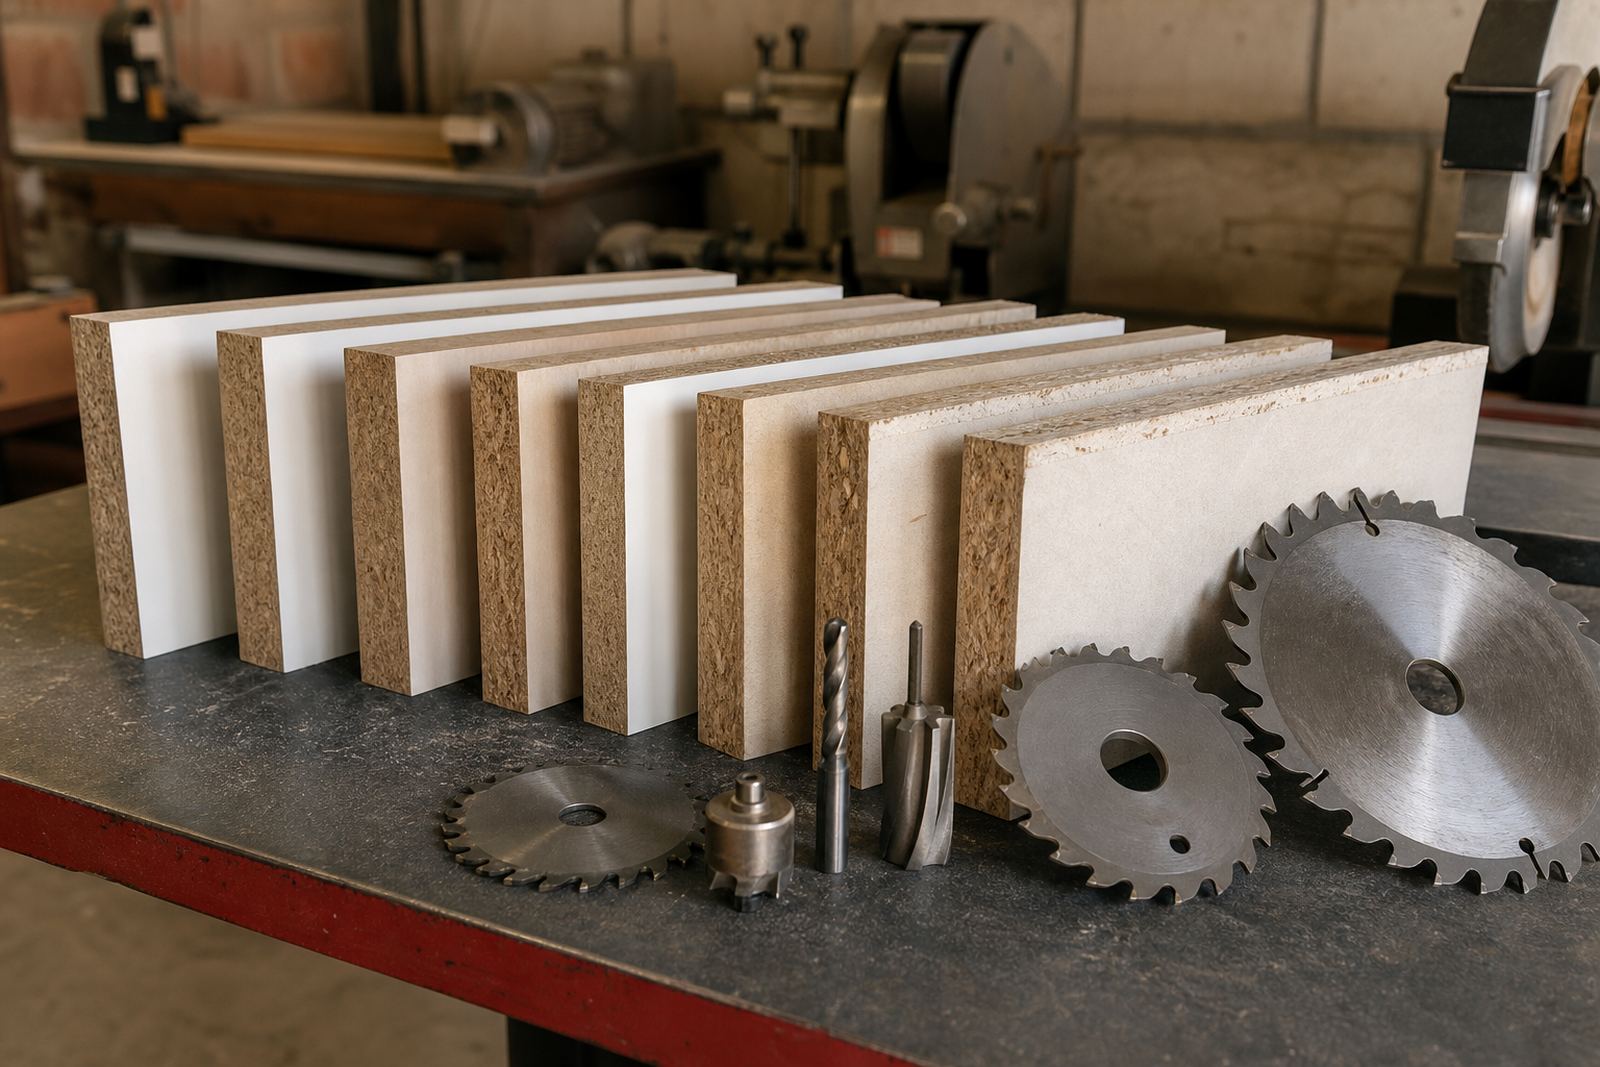
If you want cleaner edges, start with the cutter itself. A saw blade, drill bit or router bit should match the board type and the finish you want. For laminated boards, a sharp cutter with a suitable edge angle is better than trying to force one tool to do every job. A decent setup saves time and reduces rework, which matters when you are cutting batches for kitchens, shopfitting or cabinet work.
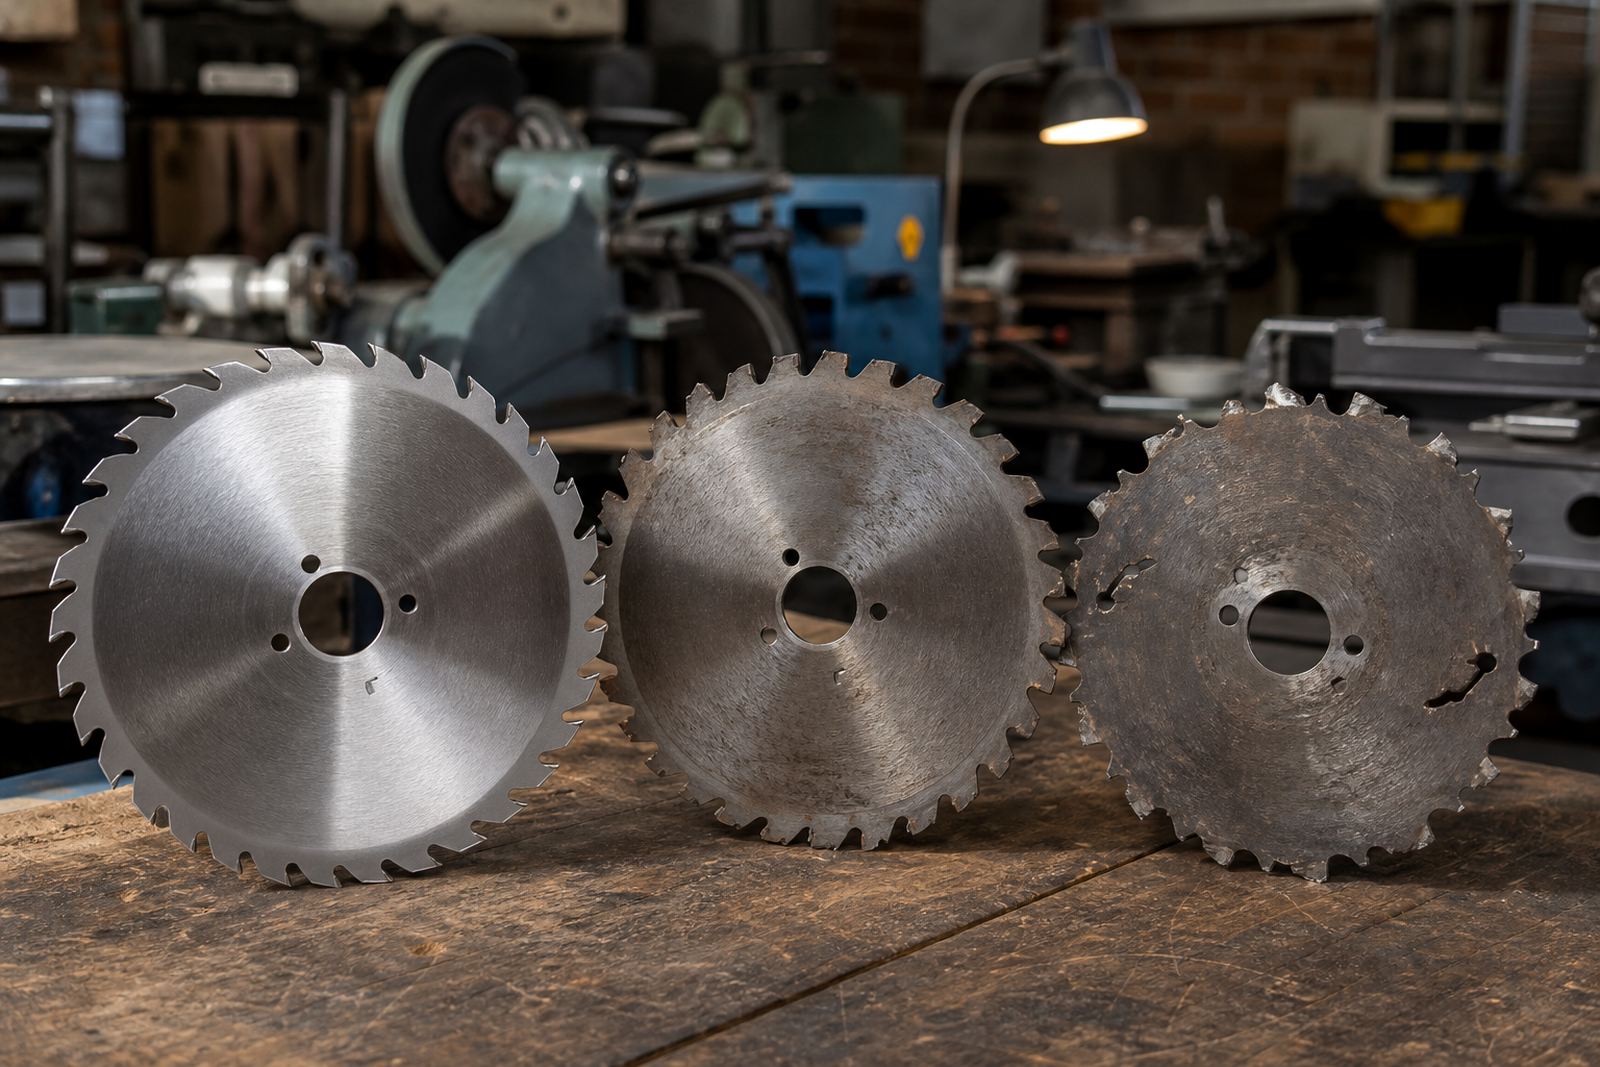
We see a lot of tools come through our workshop from Durban, Johannesburg and Cape Town with wear that is not obvious at first glance. The tip may still look presentable, but the face is rounded and the cutting edge has lost bite. That is enough to cause chip-out on the first pass. If a cutter is already making burn marks or leaving fuzzy edges, it is due for sharpening or regrinding.
- Check that the cutter matches melamine, MDF, veneer or chipboard
- Inspect for chipped tips, rounded faces and uneven wear
- Confirm the diameter and bore are still correct after use
- Look for resin build-up, rust or heat damage
Set up the cut for a cleaner edge
Good setup often matters as much as sharpening. The board must be fully supported, the fence must be straight, and the cut line should not wander. For router work, a light first pass can help on brittle laminate. For saw work, the blade height should be set so the teeth clear cleanly without exposing too much of the cutting edge. Too high and the surface can splinter, too low and the cut may drag.
On-site work in humid coastal areas like Durban and Westville can also make boards swell slightly, so storage and timing matter. If the sheet has picked up moisture, the cut edge can break down more easily. Keep panels flat, dry and off bare concrete. It sounds simple, but it saves a lot of grief.
- Support the sheet close to the cut line
- Use a straight fence or guide rail
- Check blade height and router depth before each batch
- Keep boards dry and flat before cutting
- Use a steady feed, not a forced push
Sharpening checks that make the biggest difference
When a cutter comes in for sharpening, we first look at the face, top edge and balance. A proper regrind is not only about making it sharp again. It is also about keeping the tool true so it cuts evenly across the full width. Uneven teeth can leave a rough edge on one side and a clean edge on the other, which is a common complaint on wide panels. It is one of those things that looks small until the job is already cut wrong.
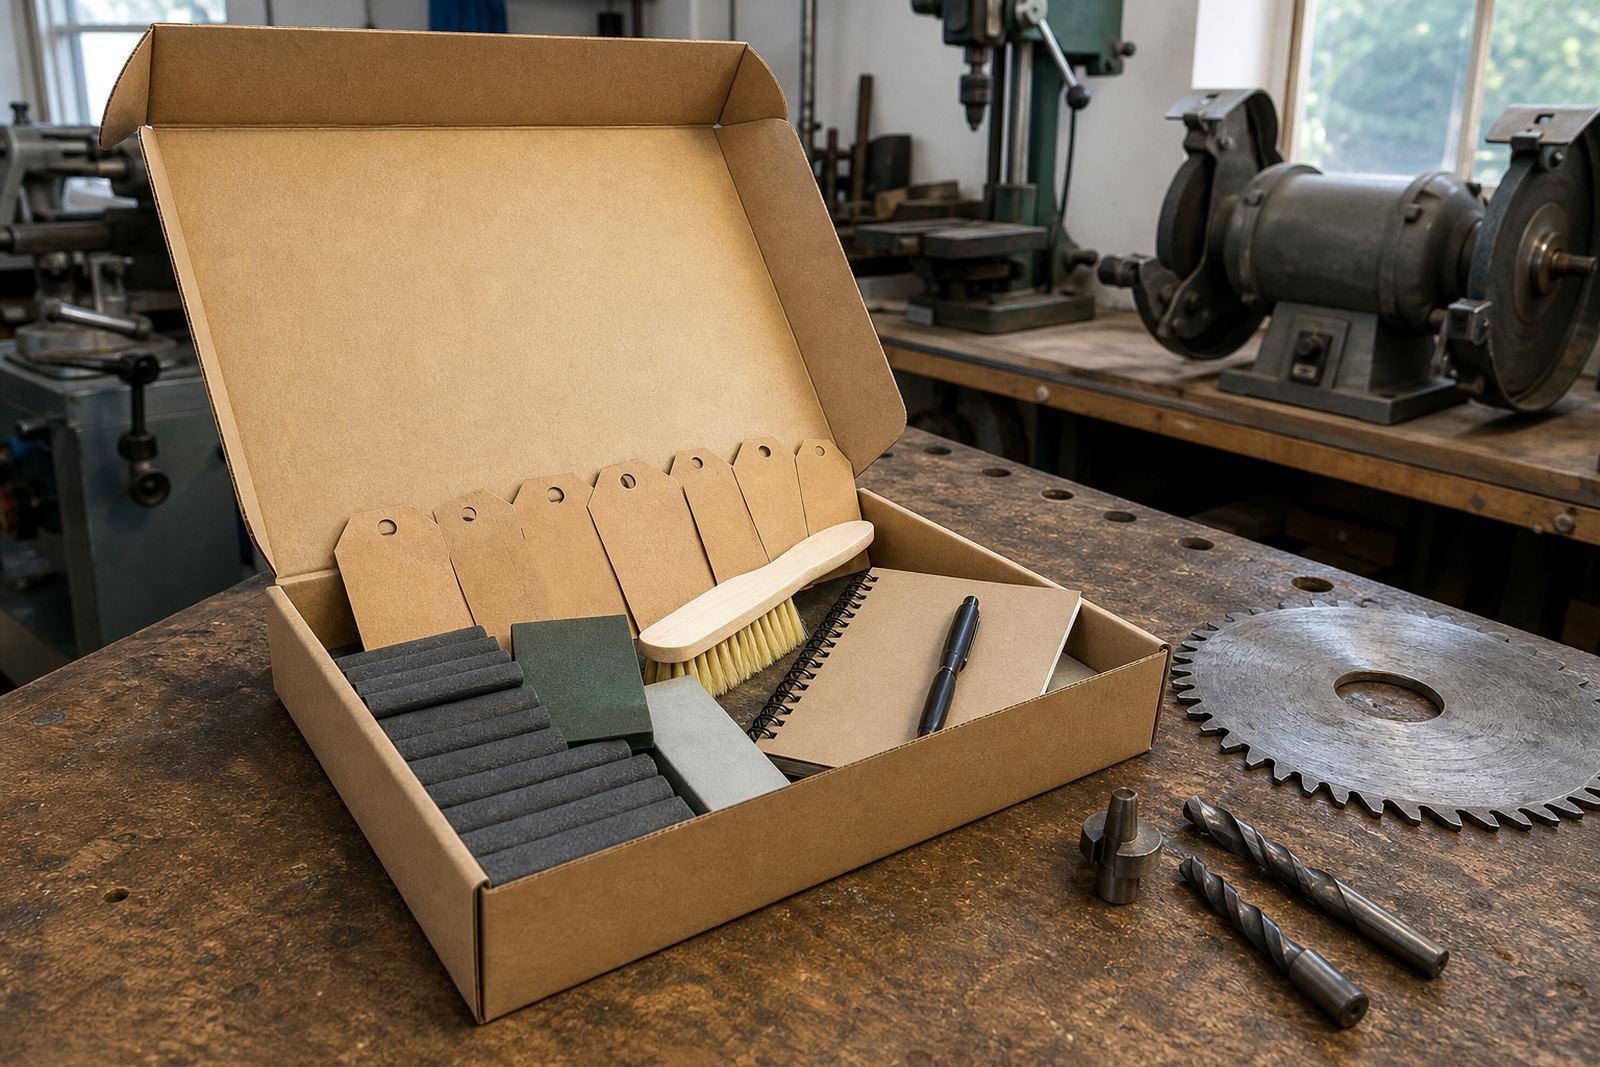
Our workshop in Pinetown handles saw blade sharpening, drill sharpening and router bit sharpening, plus tooth face grinding, top grinding and angle resetting where needed. If there is burn marking, chipped edge damage or a small imbalance, those faults should be corrected before the cutter goes back into service. We also batch tag tools for busy shops so there is less mix-up between jobs.
- Tooth faces should be even and consistent
- All cutting points must carry the same angle
- Balance should be checked after regrinding
- Chipped edges need recovery before the next run
- Diameter correction may be needed after repeated sharpening
Practical routine for cutting laminated boards
A simple routine keeps chip-out down and helps your cutters last longer. Before starting, clean the machine, check the guides and inspect the cutter under good light. After the first test cut, look closely at both the top and underside edge. If the finish starts roughing up, stop and check the tool instead of pushing through a full batch. That small pause can prevent a stack of wasted boards.
For small workshops and hobby users, a basic maintenance habit makes a real difference. Keep one sharp cutter ready, one in use, and one due for service. That way you are not stuck waiting when a blade blunts mid-job. It also helps if you work across different materials, since a cutter used on abrasive board will wear faster than one used on cleaner timber.
- Inspect the cutter before each session
- Make a test cut on an off-cut first
- Clean resin and dust from the tool after use
- Rotate tools so none are overworked
- Book sharpening before the cutter becomes unusable
When to send tools for regrinding or training support
If you are seeing repeated chip-out, burn marks, rough cut lines or extra sanding time, the tool probably needs more than a quick clean. That is the point to book a collection or bring the tools in for proper checking. We arrange courier collection across South Africa, including Pretoria, Johannesburg, Cape Town, Durban and Pietermaritzburg, so shops do not have to lose a full day driving around. Pinetown, Hillcrest and Westville clients also use the same service when time is tight.
We also offer training and starter kits for users who want better tool care from the start. That is useful for new workshops, joiners moving into laminated board work, or anyone trying to cut waste and keep edges cleaner. A few small changes in sharpening, storage and setup can make the finish much neater, and reduce the need for edge filling later.
- Chip-out keeps returning after sharpening
- Cut edges look burnt, torn or fuzzy
- The cutter is due for balance or angle correction
- You need a collection from your workshop or site
- Your team needs practical maintenance training
Quick edge-finish checklist before you pack up
Before you finish for the day, run through a quick check so the next job starts cleaner. If the edge is smooth, square and free from breakout, you have the setup right. If not, inspect the cutter again rather than assuming the board was the problem. This is the habit that saves time in the long run, especially when your jobs are back to back and the workload is heavy.
Good cutting is not luck. It is a mix of the right tool, proper sharpening, and careful handling of the board. Once those three line up, chip-out drops sharply and the workshop runs with less waste and less rework.
- Edge is clean with no lifting at the surface
- Cut line stays straight across the full length
- No burn marks or dark streaks along the cut
- Tool is clean, sharp and properly balanced
- Next service date is noted before the tool goes back into storage