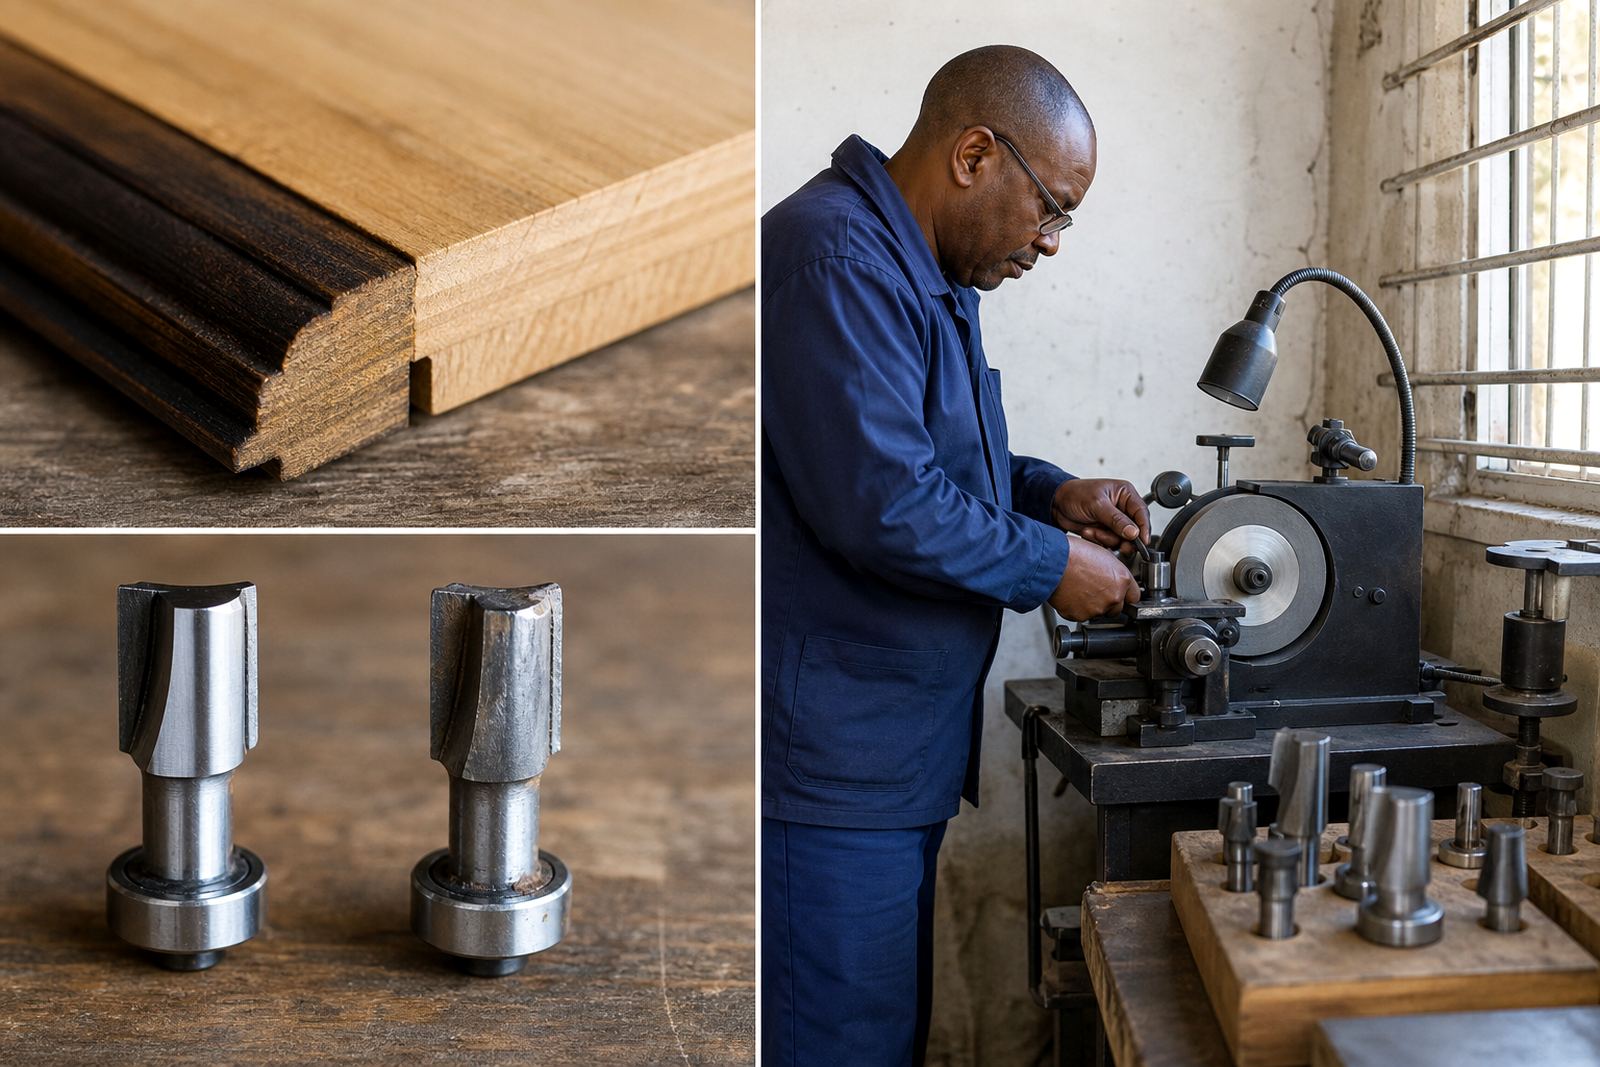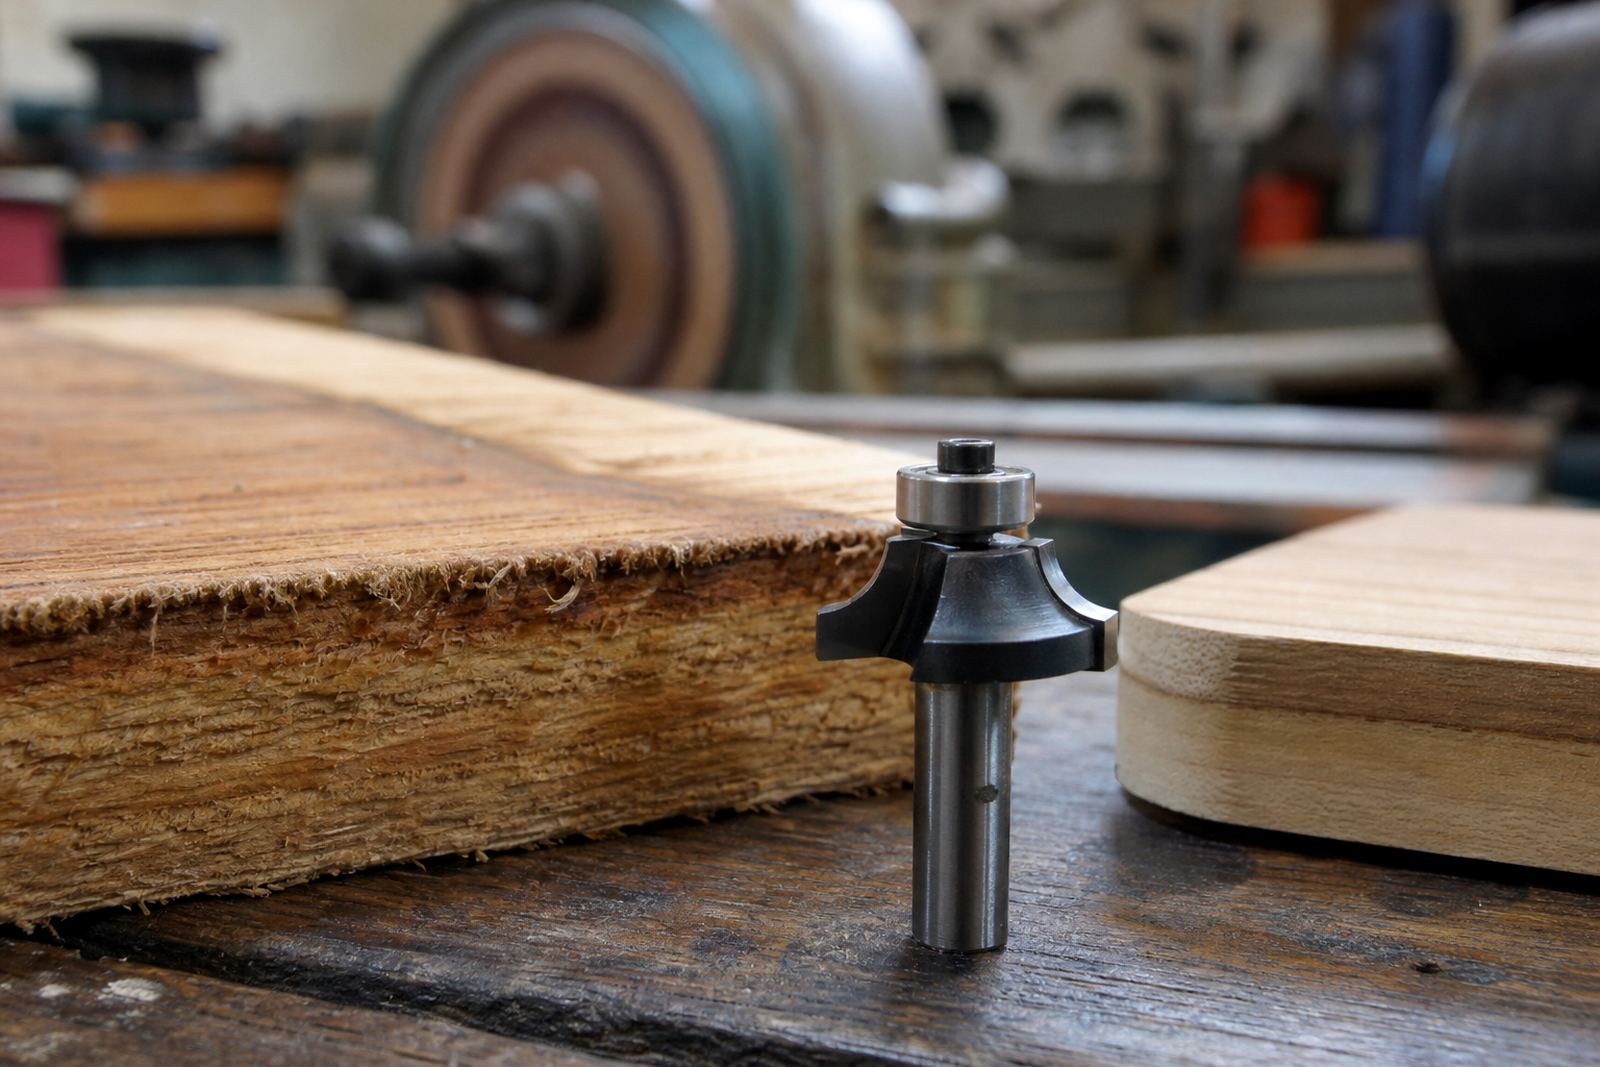

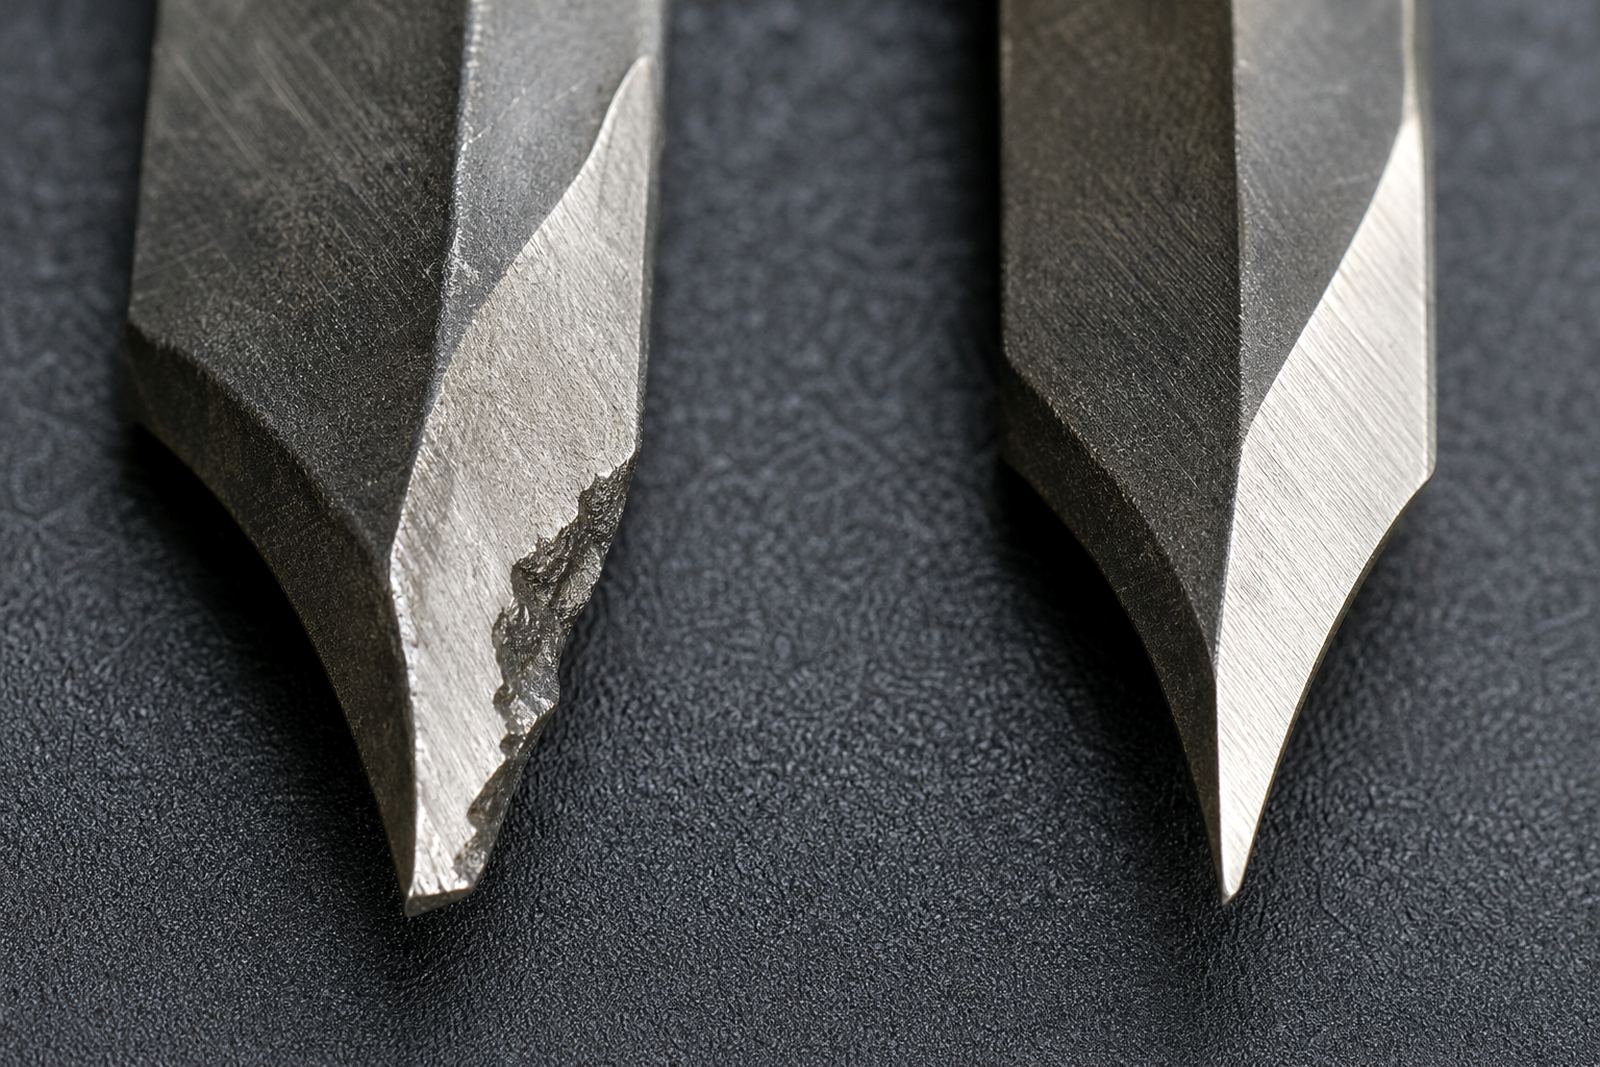
Impact, not just wear, is the usual starting point
Many operators assume edge damage happens only when a cutter is old. In practice, chips often start with a sudden knock, a dropped tool, or a feed that forces the cutting edge into material too hard. Saw teeth, drill points and router bits all take a beating when the operator pushes through knots, staples, hidden grit, or hard inclusions in timber and board.
Tool geometry matters too. A clean edge can still chip if the angle is wrong for the job, or if the cutting edge is already thin from repeated sharpening. Once the edge gets too fine, it becomes more likely to break away instead of slicing cleanly. We see this often on tools that have been regrinded several times and then sent back into heavy daily use without checking the remaining life.
Heat builds up faster than many workshops expect
Excess heat weakens the cutting edge and makes it brittle. That is common on saws and router bits used at high speed, especially where material is dense or where the tool is working on a blunt setting. When the edge overheats, it can micro crack first, then chip later when the cutter meets resistance.
In coastal conditions like Durban and the wider KwaZulu-Natal coast, humidity adds another problem. Slight surface corrosion can form quickly on stored tools, and that pitting creates weak spots along the edge. Inland, dry dust and fine abrasive particles can do similar damage if extraction is poor. Either way, if the tool is running hot and dirty, the edge is under pressure every minute it is cutting.
- Check for blueing or a dull straw colour on metal surfaces after heavy work
- Keep the work area clear of fine dust and abrasive grit
- Let the cutter cool before cleaning or packing it away
- Use the correct speed and feed for the material, not the fastest setting available
Dirty material is hard on edges and harder to spot in time
One of the biggest causes of chipped cutters is contamination in the workpiece. A timber board may look clean but still carry sand, nails, screws, wire, hardened glue or mineral deposits. On the shop floor, even a tiny piece of metal can nick a tooth and start a chain of damage across the rest of the cutting edge.
That is why pre-checks matter before a blade goes back into service. A simple visual check, plus a quick pass with a magnet for metal contamination, can save a lot of grinding later. We also advise operators to mark any suspect material and keep it separate from normal stock. It sounds basic, but it prevents repeat damage and saves time for the whole team.
- Inspect reclaimed timber before cutting
- Remove staples, screws and old fixings first
- Keep resin and glue build-up under control
- Separate suspect stock from clean stock on the rack
Wrong setup puts side load on the cutting edge
Chipping is often linked to poor setup rather than poor steel. If a saw blade is out of alignment, if a drill is wobbling, or if a router bit is not seated properly, the edge does not enter the material squarely. That creates side load, vibration and a rough cut path, all of which increase the chance of the edge breaking away.
Balance matters as well. A cutter that is out of balance may still work for a short while, but the vibration can loosen the operator’s control and make the tool cut unevenly. On batch work, this gets expensive quickly because the same fault can damage many tools before anyone notices the pattern. A short check on mounting, runout and balance is worth the time every time.
Small chips get worse when they are left too long
A small chip is not always a crisis, but it should never be ignored. Once one point on the edge is missing, the tool begins to cut unevenly. That uneven load puts extra stress on the surrounding teeth or cutting surfaces, so the damage spreads faster than most people expect.
For workshops in Pinetown, Westville and Hillcrest, as well as courier clients in Durban, Johannesburg, Pretoria, Pietermaritzburg and Cape Town, it is often cheaper to send a damaged batch early than to wait until the tools are all too far gone. Early regrinding can recover the edge, restore the angle and keep the cutter in service without taking off more material than necessary. Waiting too long can shorten the life of the tool and it also affects finish quality.
Common warning signs include:
- A rough cut where the finish used to be clean
- More burning or black marks on the cut line
- Extra vibration or chatter during use
- Visible nicks on teeth or cutting points
How operators can reduce edge damage in day to day use
The best way to limit chipping is to keep the cutter working within its intended range. That means using the right feed speed, the right cut depth and the right tool for the material. It also means not forcing a cut when the edge is already dull, because dull cutters need more pressure and that extra pressure often breaks the edge instead of improving the result.
Good handling helps too. Tools should be stored so they do not knock against one another. Blades should be wrapped or tagged, not thrown into a mixed box. Drills and router bits need proper cleaning after use, especially if resin, pitch or dust has built up on the cutting face. If a tool is going into storage for a while, keep it dry and protected, because corrosion can start faster than people think.
- Use the correct cutter for the material and job
- Keep feed pressure steady, do not force the cut
- Clean off resin, pitch and debris after use
- Store tools separately so the edges do not knock together
- Book sharpening before damage spreads through the whole edge
A Pinetown example from a busy workshop floor
A cabinet shop in Pinetown once brought in a batch of saws that had started leaving rough edges on melamine and softwood. The operator thought the blades were simply worn out, but the real problem was a mix of dust build-up, slightly off alignment and one blade that had picked up a tiny nick from contaminated stock. Because the same batch was used across several jobs, the fault had spread before anyone noticed.
After cleaning, regrinding and checking the angles, the blades were cutting cleanly again. The lesson was simple: edge chipping usually has more than one cause, and once the first chip appears, the rest of the edge can follow. For workshops that run through load-shedding, tight deadlines and mixed material, routine checks save a lot of wasted cutting time and a fair bit of frustration too.